Why I Love Abstract Art

Abstract art uses shape, form and colour to create composition. For me, abstract art is a way to connect to my intuition and feelings. For each piece I create, I focus on how I want the painting to make me feel.

I paint slowly, taking breaks each time I add a new colour to the page. I ask the canvas to reveal what it wants to show me.

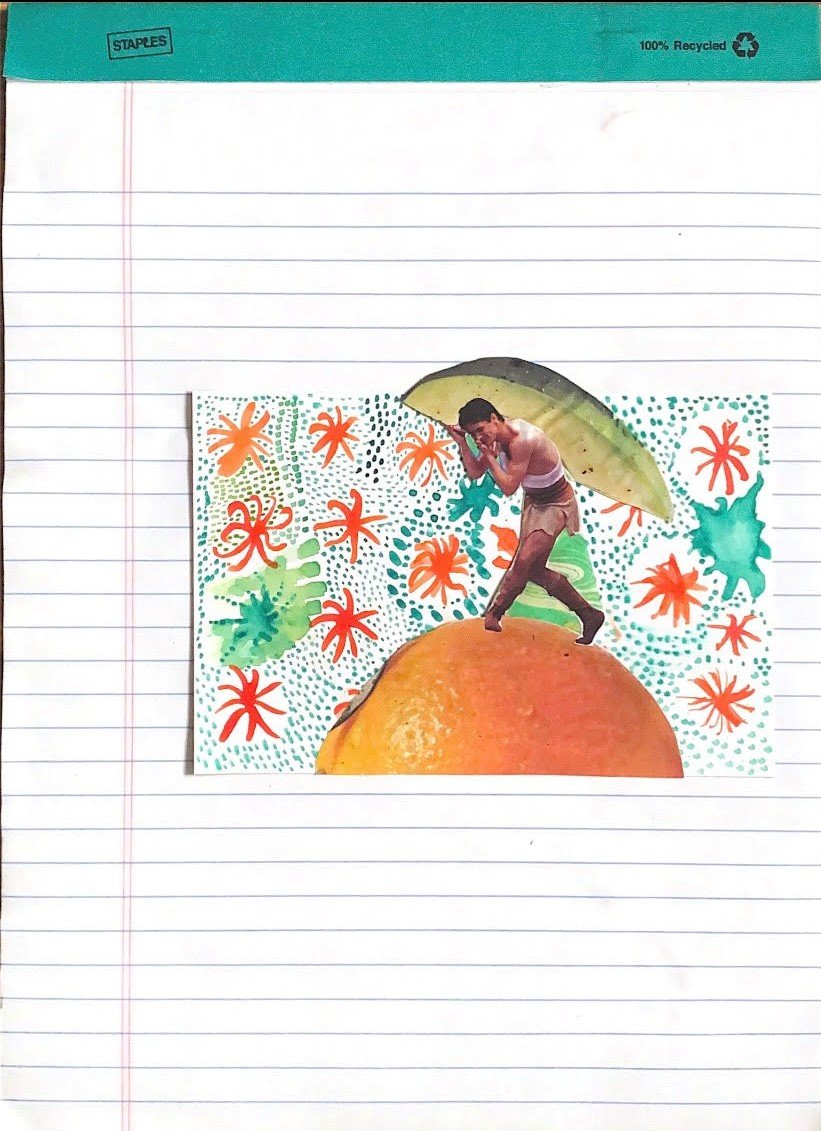
Here are some of the paintings I’ve done in the last six months:


If you are looking to start painting this year, join my weekly peer support group for “Art & Mental Health.” We meet Fridays and Sundays on TikTok Live. Join us with your art supplies from the comfort of your own home, learn more here.


Painting EVERY DAY

When you paint every day, you may not like a lot of what you paint. I remind myself of this often as I’m learning to push through the “ugly phase” of painting. Pushing through, has helped me learn new techniques in watercolour and acrylic painting.

By pushing through the “ugly phase” you get to the beautiful phase.

Here are some pieces I pushed through to make:

If you’re looking for community to support you in your creative endeavours, check out my new “Art & Mental Health” peer support series on TikTok, happening Tuesday and Friday evenings from 7:30 to 9:30pm EST.

Our first session will be Friday, March 17 at 7:30pm (Eastern Time). Join us here.

Trying Pencil Crayons: Planning for a 3 day trip

Painting has become a daily habit for me, I come home and instead of turning on the TV like I used to, I decompress by painting for 20 minutes.

As a beginner painter, I have a basic home setup for painting. I keep all my art supplies in a storage caddy next to my desk and use my desk as both a home office for work and a home studio for this blog. I’m also still learning what I like to use when it comes to materials and techniques and like to experiment each sitting.

I can honestly say that my mess of random art supplies riddles me with decision fatigue when I think about packing it up for any length of time away from my apartment. For me, I think packing my paints for a short trip would take longer to plan than the trip itself.

I’m heading out of town for three days and three nights. I will have some down time each day and want to maintain my creative practice when away but will not be packing paints. Instead I’m going to try pencil crayons in a sketchbook. This means I will only need to pack the following:

Packing List

  • 1 tin of pencil crayons

  • My blank page journal (which I carry with me anyways)

  • A small eraser and a small sharpener

  • Some coloured pens and a fine-tip black marker

Trying a New Medium: Coloured Pencils

I think everyone with an artistic itch has used coloured pencil crayons at some point in their life, likely in elementary school.

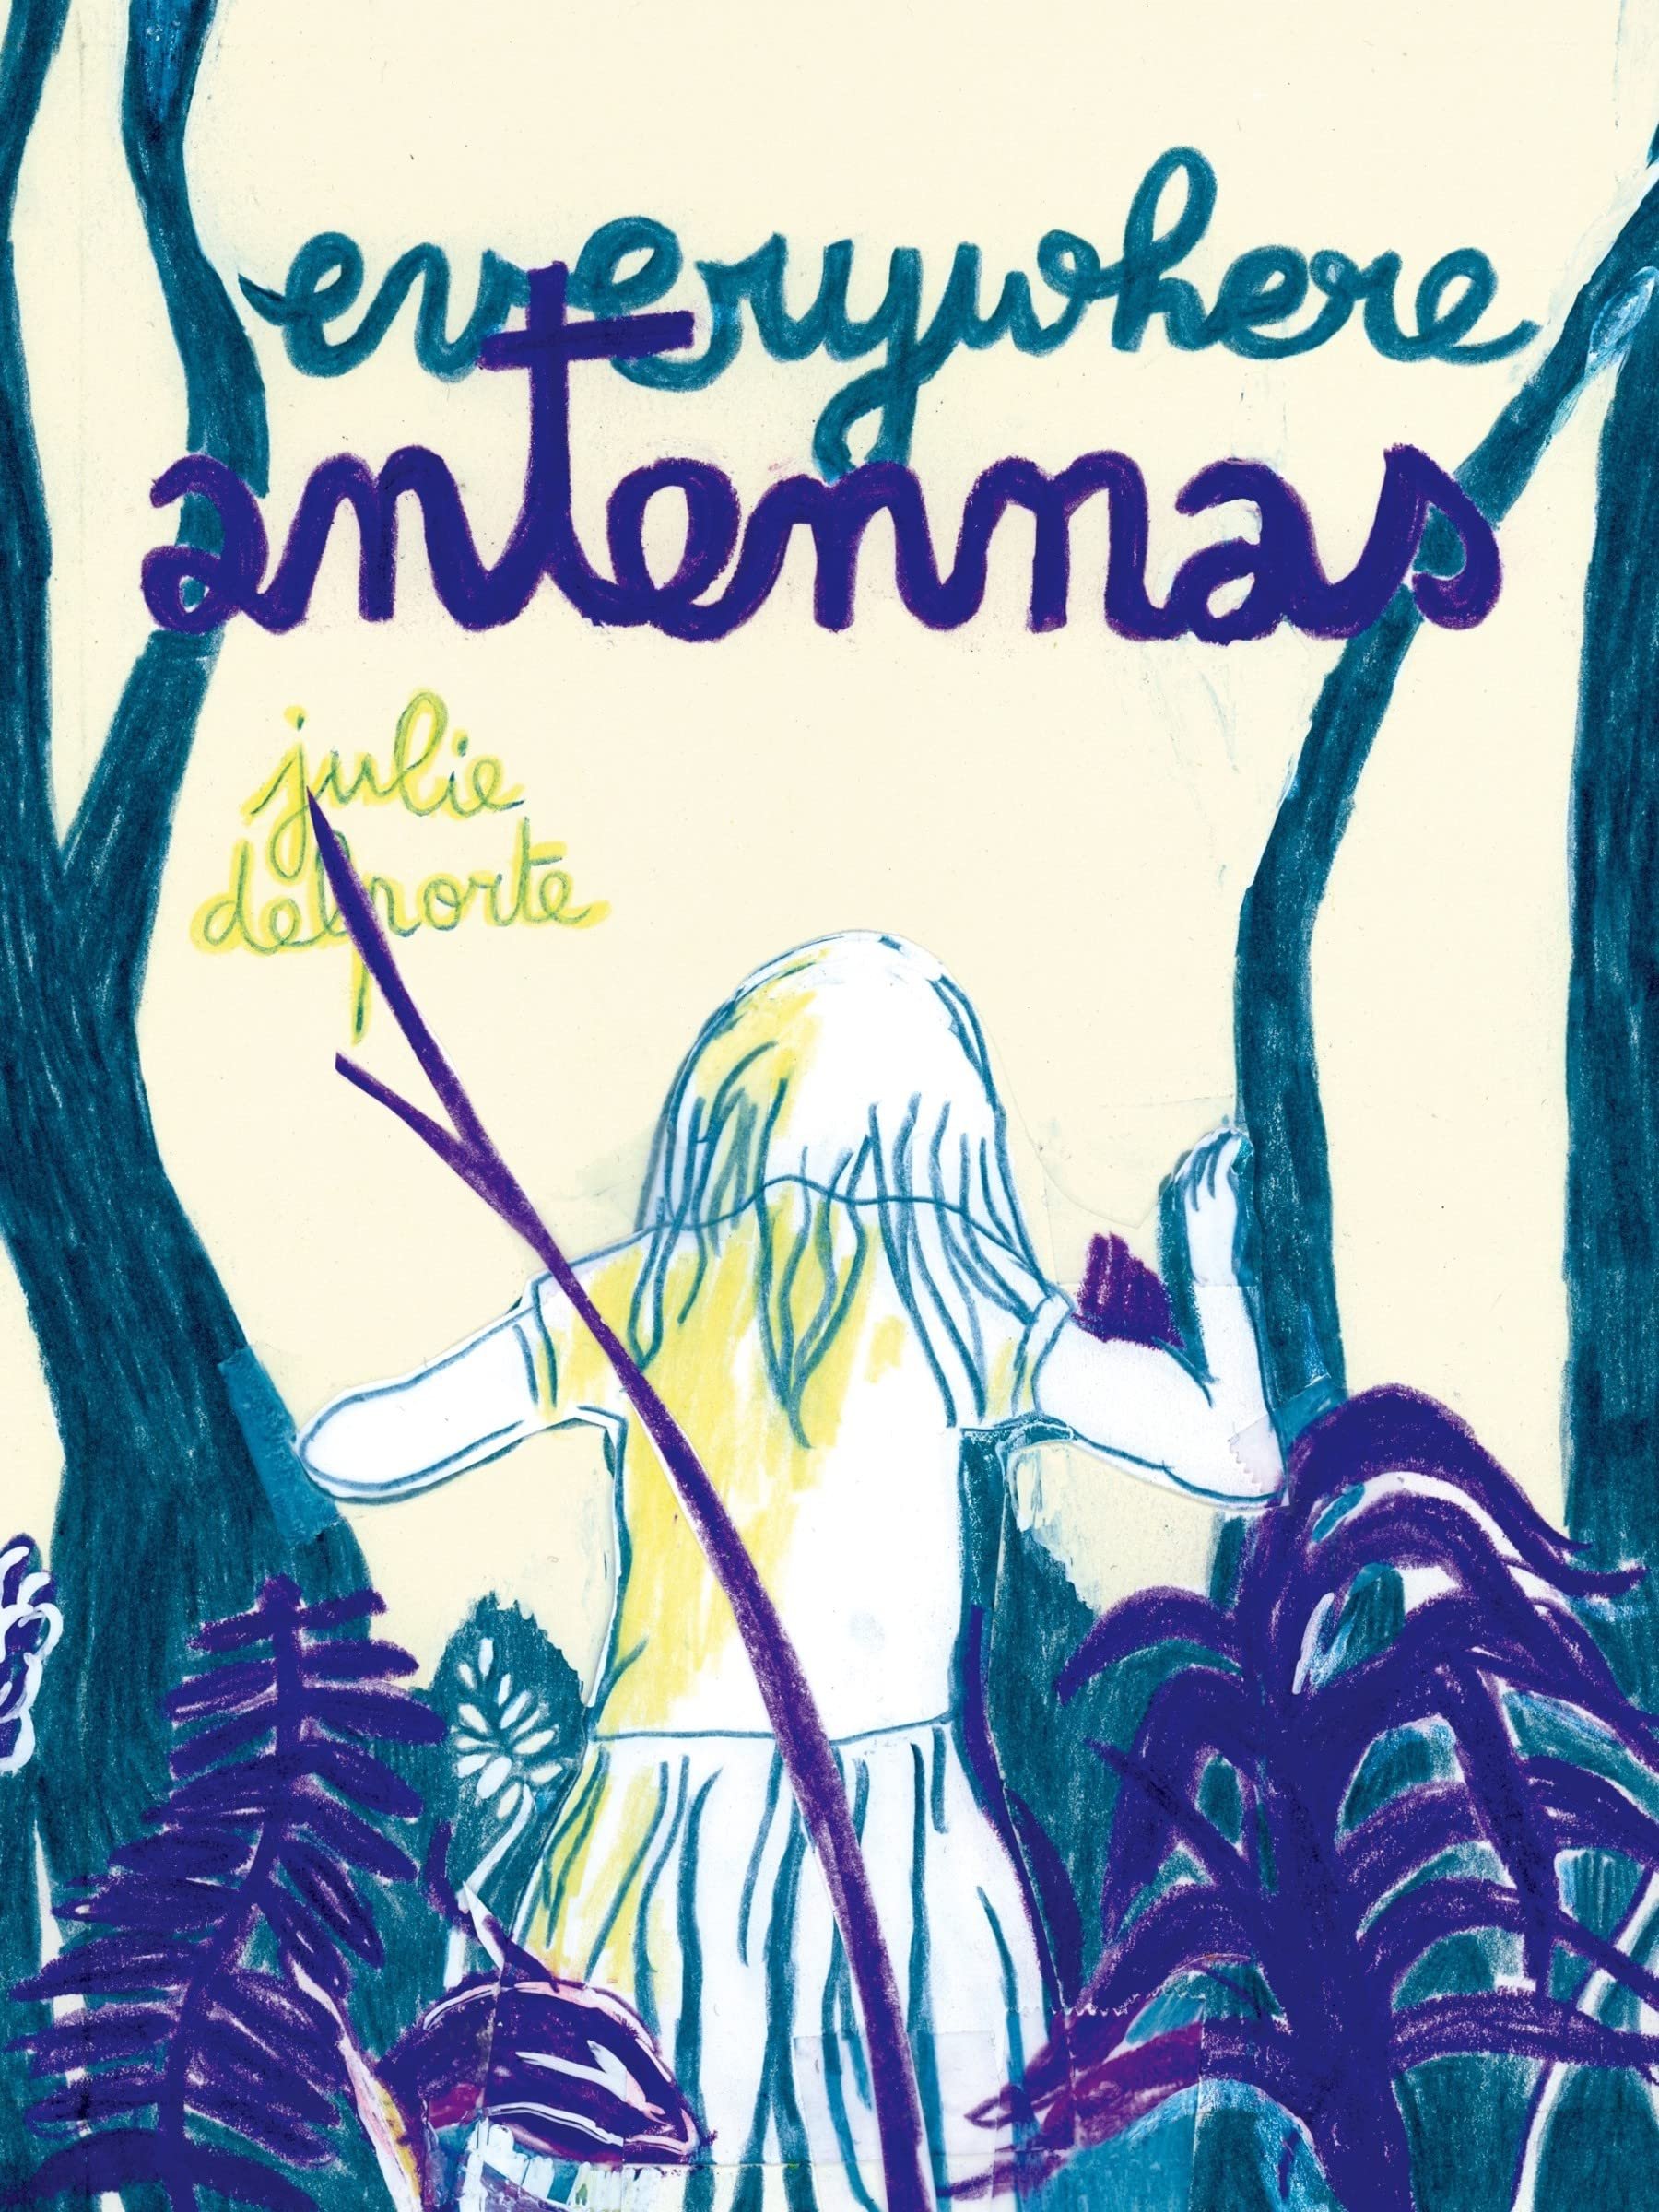
It wasn’t until I discovered the work of Montreal artist Julie Delporte that I realized the versatility of coloured pencils and became interested in learning more about illustration.

In this way, graphic novels, especially those by the Canadian publisher Drawn & Quarterly, become a gateway for me to fall in love with illustrative styles of art. Many of my favourite graphic novels are drawn in pencil crayon or ink.

Spending time admiring graphic novels and illustration lead me to also admire surface pattern design (the design and art for the surfaces of mass-manufactured products) and seek out new forms of inspiration on Pinterest, in shops and online. I fell in love in particular with botanical prints and this inspired me to try watercolour painting myself. I was initially very intimidated by the traditional fine art style of watercolour landscapes. When I learned that illustrators used watercolour and goache it made the medium approachable for me.

After admiring the work of other illustrators using pencil crayons, I’m excited to give them a try and my weekend away is the perfect opportunity.

Drawing with Pain in your Hands

I have rheumatoid arthritis in all the joints in my fingers. This means I have intermittent pain and stiffness in my hands which can affect my ability to hold and work with pencils. One thing that has assisted me with trying coloured pencils, has been using ones with softer lead centers. The softer the lead of the pencil, the less pressure you need to apply to the paper.

Soft lead pencils can be expensive though. If soft pencils are out of your budget - markers might be a better fit. Markers require less pressure to apply, and have big colour payout.

If gripping is your main issue, you can also wrap foam or other soft materials around the hard wood to cushion your fingers. This is a technique I learned from my occupational therapist growing up. You can also purchase pre-made pencil grippers like these ones pictured here:


I have also noticed that the brand of eraser I use affects my hand pain. If the eraser is not strong enough, I find myself rubbing too hard and hurting my joints. I have had good luck with the “Prismacolor Magic Rub” eraser.

Why Try Pencil Crayons

Here are the main reasons I’m so excited to try pencil crayons on my upcoming trip:

  • Portability - Pop them in a tin or pencil case and you are good to go. Easily use them at a cafe, park or on the train (not including the subway lol).

  • Accessibility - There are many brands of pencil crayons to try in different price ranges and you can use any paper you have on hand. There is no need to buy expensive or weighty paper pads or special sketchbooks like when you use watercolour or acrylic paint.

  • Easy to practice - The portability and accessibility makes this medium easy to practice. This also makes it a fun medium for kids to enjoy as well.

Let me know if you try out pencil crayons yourself. I’d love to hear how it goes, and would like pictures of what you create even more.


Paint it Black

The most meditative practice I’ve found recently has been painting everything black.

I’m a new painter, and advice that comes up all the time in beginner watercolour instruction is “not to use black.” Many instructors recommend using a colour’s opposite (on the colour wheel) to mix your own black. The argument is this technique brings more nuanced colours into your palette, where as using traditional black can be considered too “harsh”.

I’ve found that abandoning this advice and using more black in my work has been liberating. Sometimes I think a painting is not salvageable and then I paint it black at it brings new meaning to the piece. Here are some examples:

When I’ve finished the coloured parts of the piece, I take Chinese Ink and carefully outline my piece in black. It takes time painting the background last, I’m careful not to paint over what I’ve already created. It’s meditative and relaxing though time consuming.

You can use this exercise as art therapy or a simple meditation: keep bringing your attention back to your brush and the small strokes of black ink. You can use old pieces you haven’t finished and paint them black or draw some basic flowers in colour and try this technique. Let me know what you think in the comments below.

Use art to "traffic calm" your day

On my drive to work, I hit anywhere between 5 and 10 red lights. In my parents’ neighbourhood, they’ve installed speed bumps as a new “traffic calming” measure.

In our own lives, we don’t have time to do the creative practices we love in the middle of the day. I’ve recently tried to integrate small pockets of creativity into my day in small ways; I think of these reprieves as traffic calming for my nervous system.

Examples of activities that can be calming under 5 minutes:

  • Doodling or colouring with pencils or markers

  • Writing in a journal or diary

  • Guided or Walking Meditation

It can sometimes be overwhelming thinking of what to draw or doodle beforehand. One practice I find helpful, is sourcing inspiration in nature or online and saving references to an album on my phone. Recently, I’ve found doodling paisley pattern meditative and relaxing.

Not sure what to draw? Try the paisley pattern prompt:

  1. Cover your page with “leaf” shapes

  2. Fill in each leaf with its own design:

    • Repeat motifs like flowers, stripes and swirls

  3. Enjoy your day

Learning to Paint: A page at a time

I dream of painting and then I paint my dreams

Van Gogh

I’ve always wanted to learn how to paint flowers. I’ve tried painting before and never got the hang of it. This year, I wanted to try to learn so that I could illustrate floral designs, just for myself. To have a small dream and accomplish it.

I decided to paint one page a day in my sketchbook. I could commit to one page a day. I used the small Windsor & Newton travel kit I already had and an empty sketchbook with thick pages I bought by accident when I thought it was a journal.

When I started, I felt really uncomfortable painting shapes. I started by swatching colours with the same brush in small patterns. Each day I’d fill a page in my sketchbook or a small postcard sized block page with bright coloured tiles of paint. I did this for many days, just painted swatches. It was relaxing but also helped me feel more comfortable. I played with different brushes, paints and mixing colours.

Sappy love lyrics for good measure and to practice using a flat tip pen ;)

From tiles and colour swatches, I moved on to abstracts. I played with shapes and wet on wet techniques with watercolour.

After a few weeks of abstract painting, I felt ready to try flowers and plants.

I started small, watching videos online and flipping through some books from the library. My favourite is the pineapple tutorial from Emma Block’s book “The Joy of Watercolour” and simple flower tutorials on Skillshare or Youtube.

I wanted to share my process in the hopes that it inspires you to try something you’ve always wanted to try. Every day when I come home from work, I’m always excited to paint my page of the day. I’ve filled three sketchbooks now.

In the past 4 months, I’ve gone from feeling uncomfortable with a paint brush to feeling relaxed and restored each time I sit down to paint.

I keep it simple, I paint in the same spot every day: my home desk. I keep a large jar for water and my brushes and paints in the same place. All I need to do is show up.

Learning to Cross Stitch: A stitch at a time

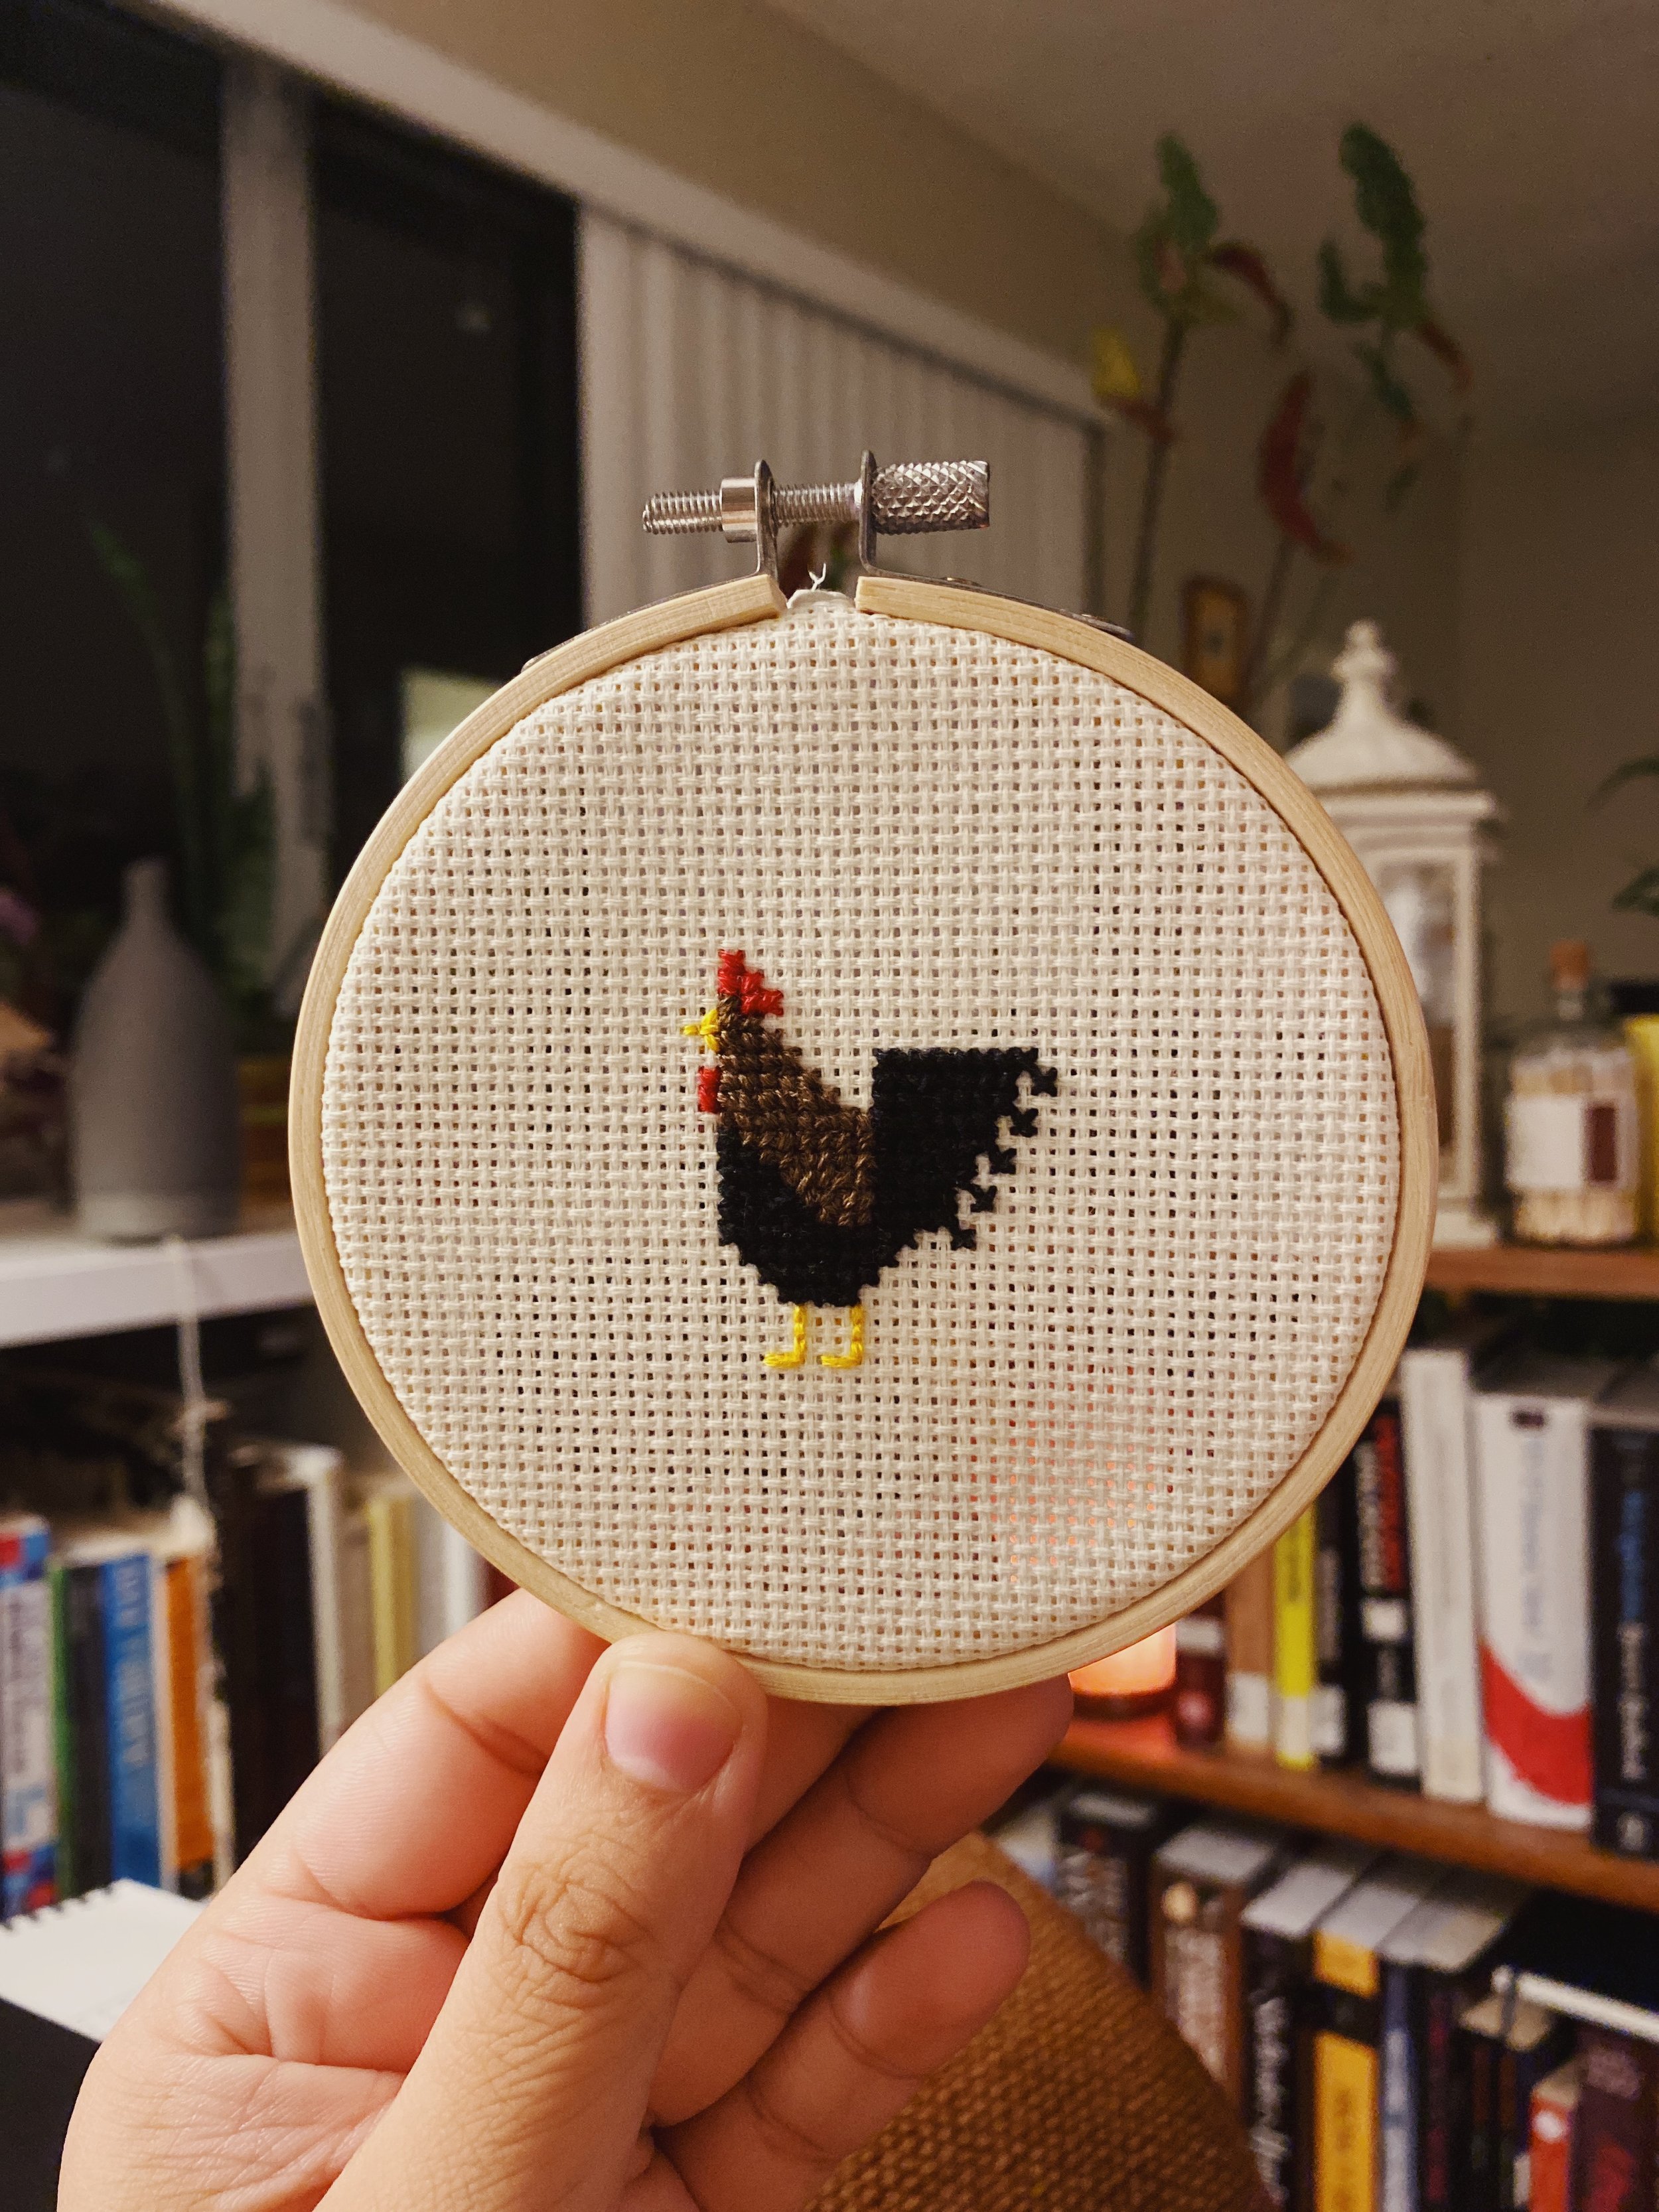
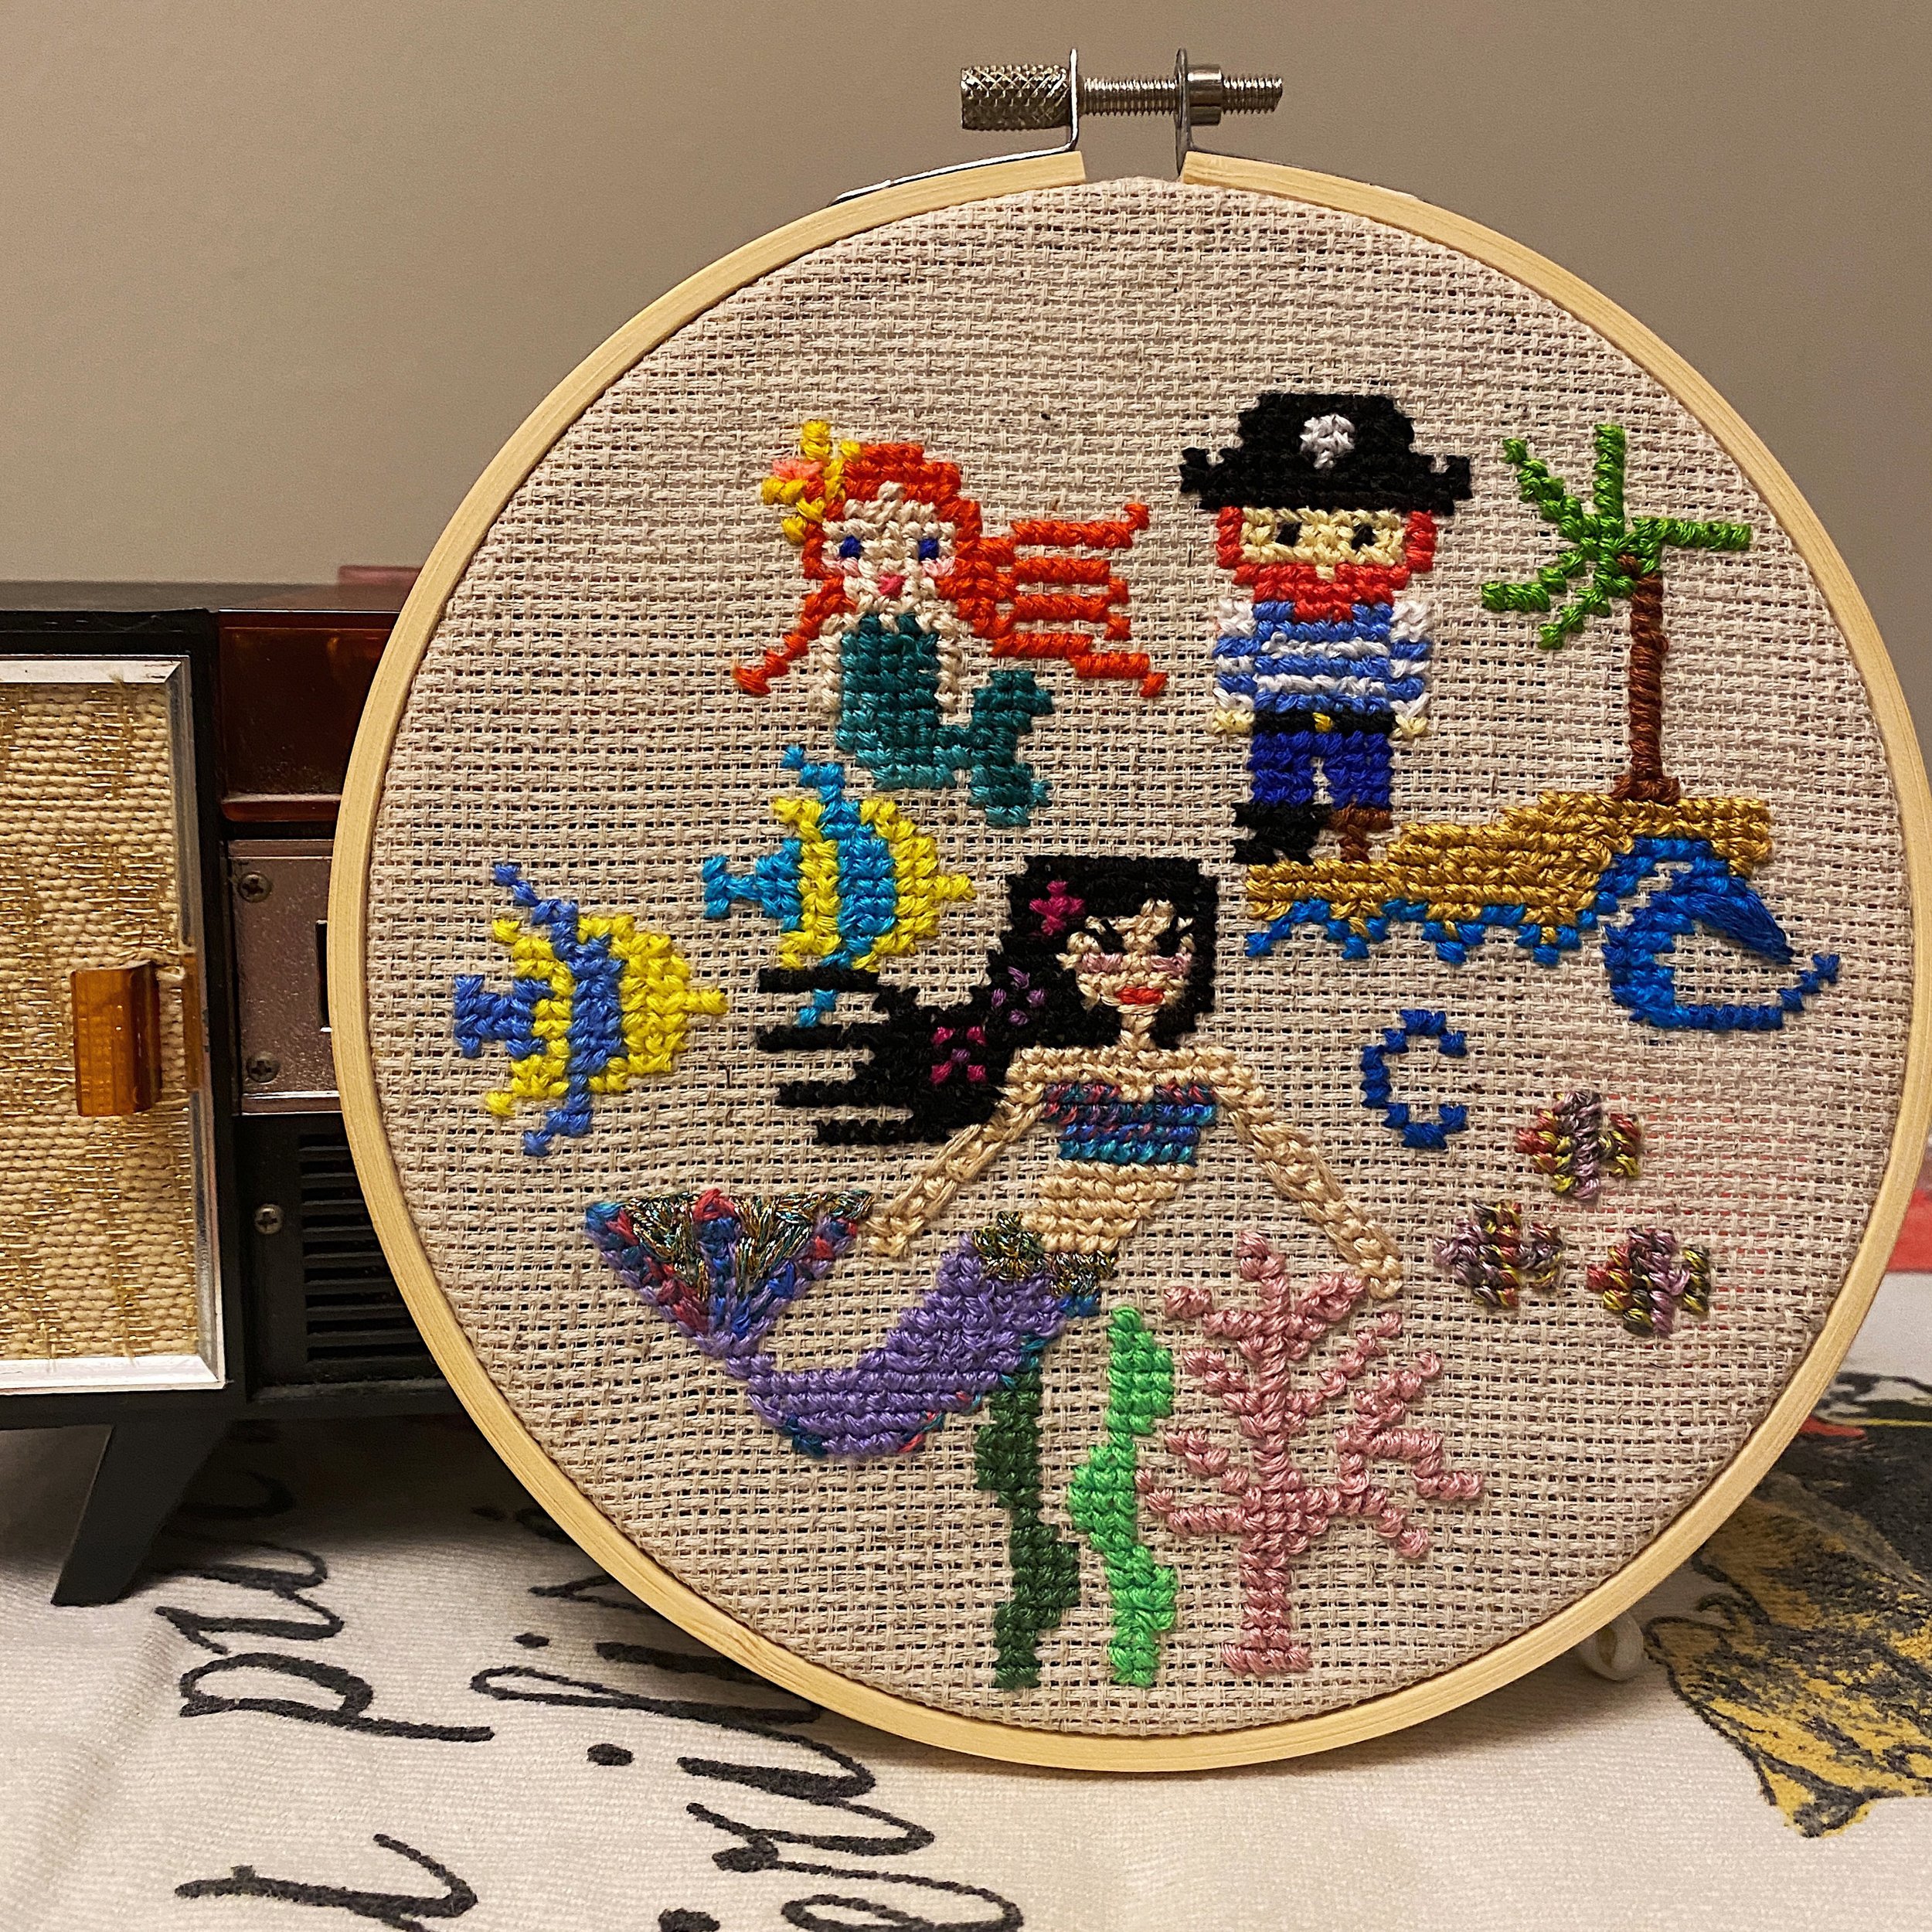
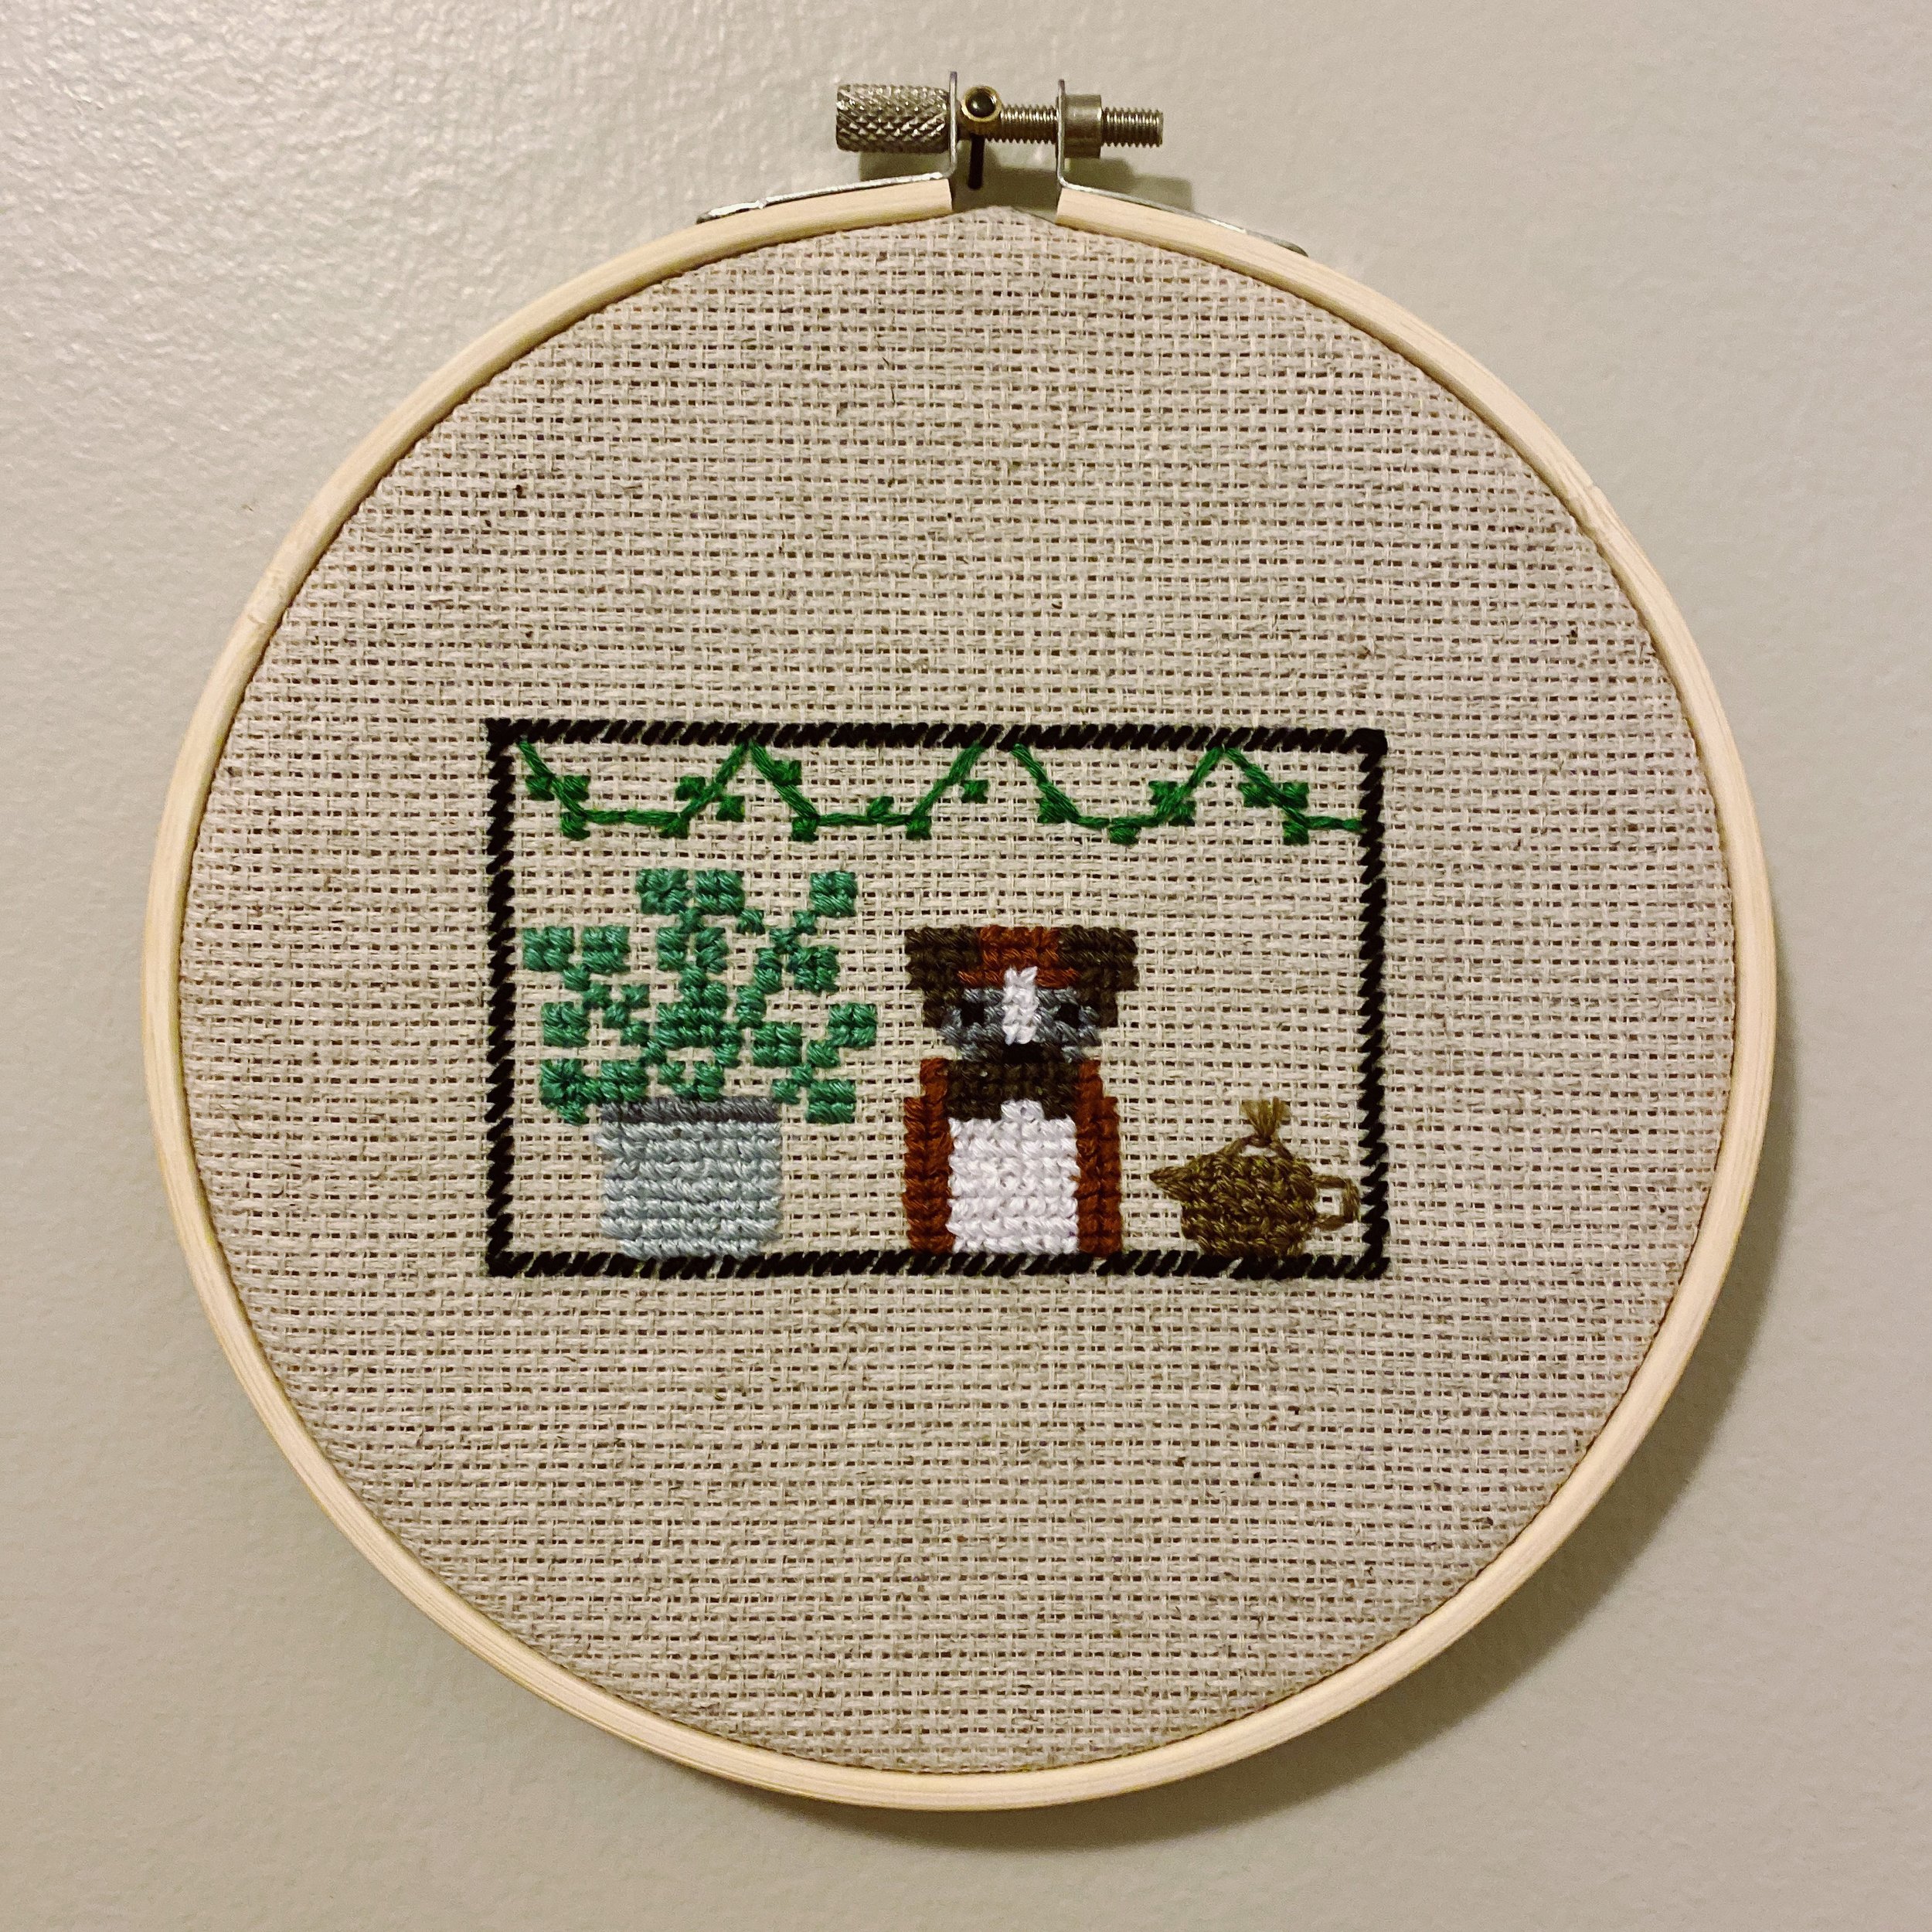
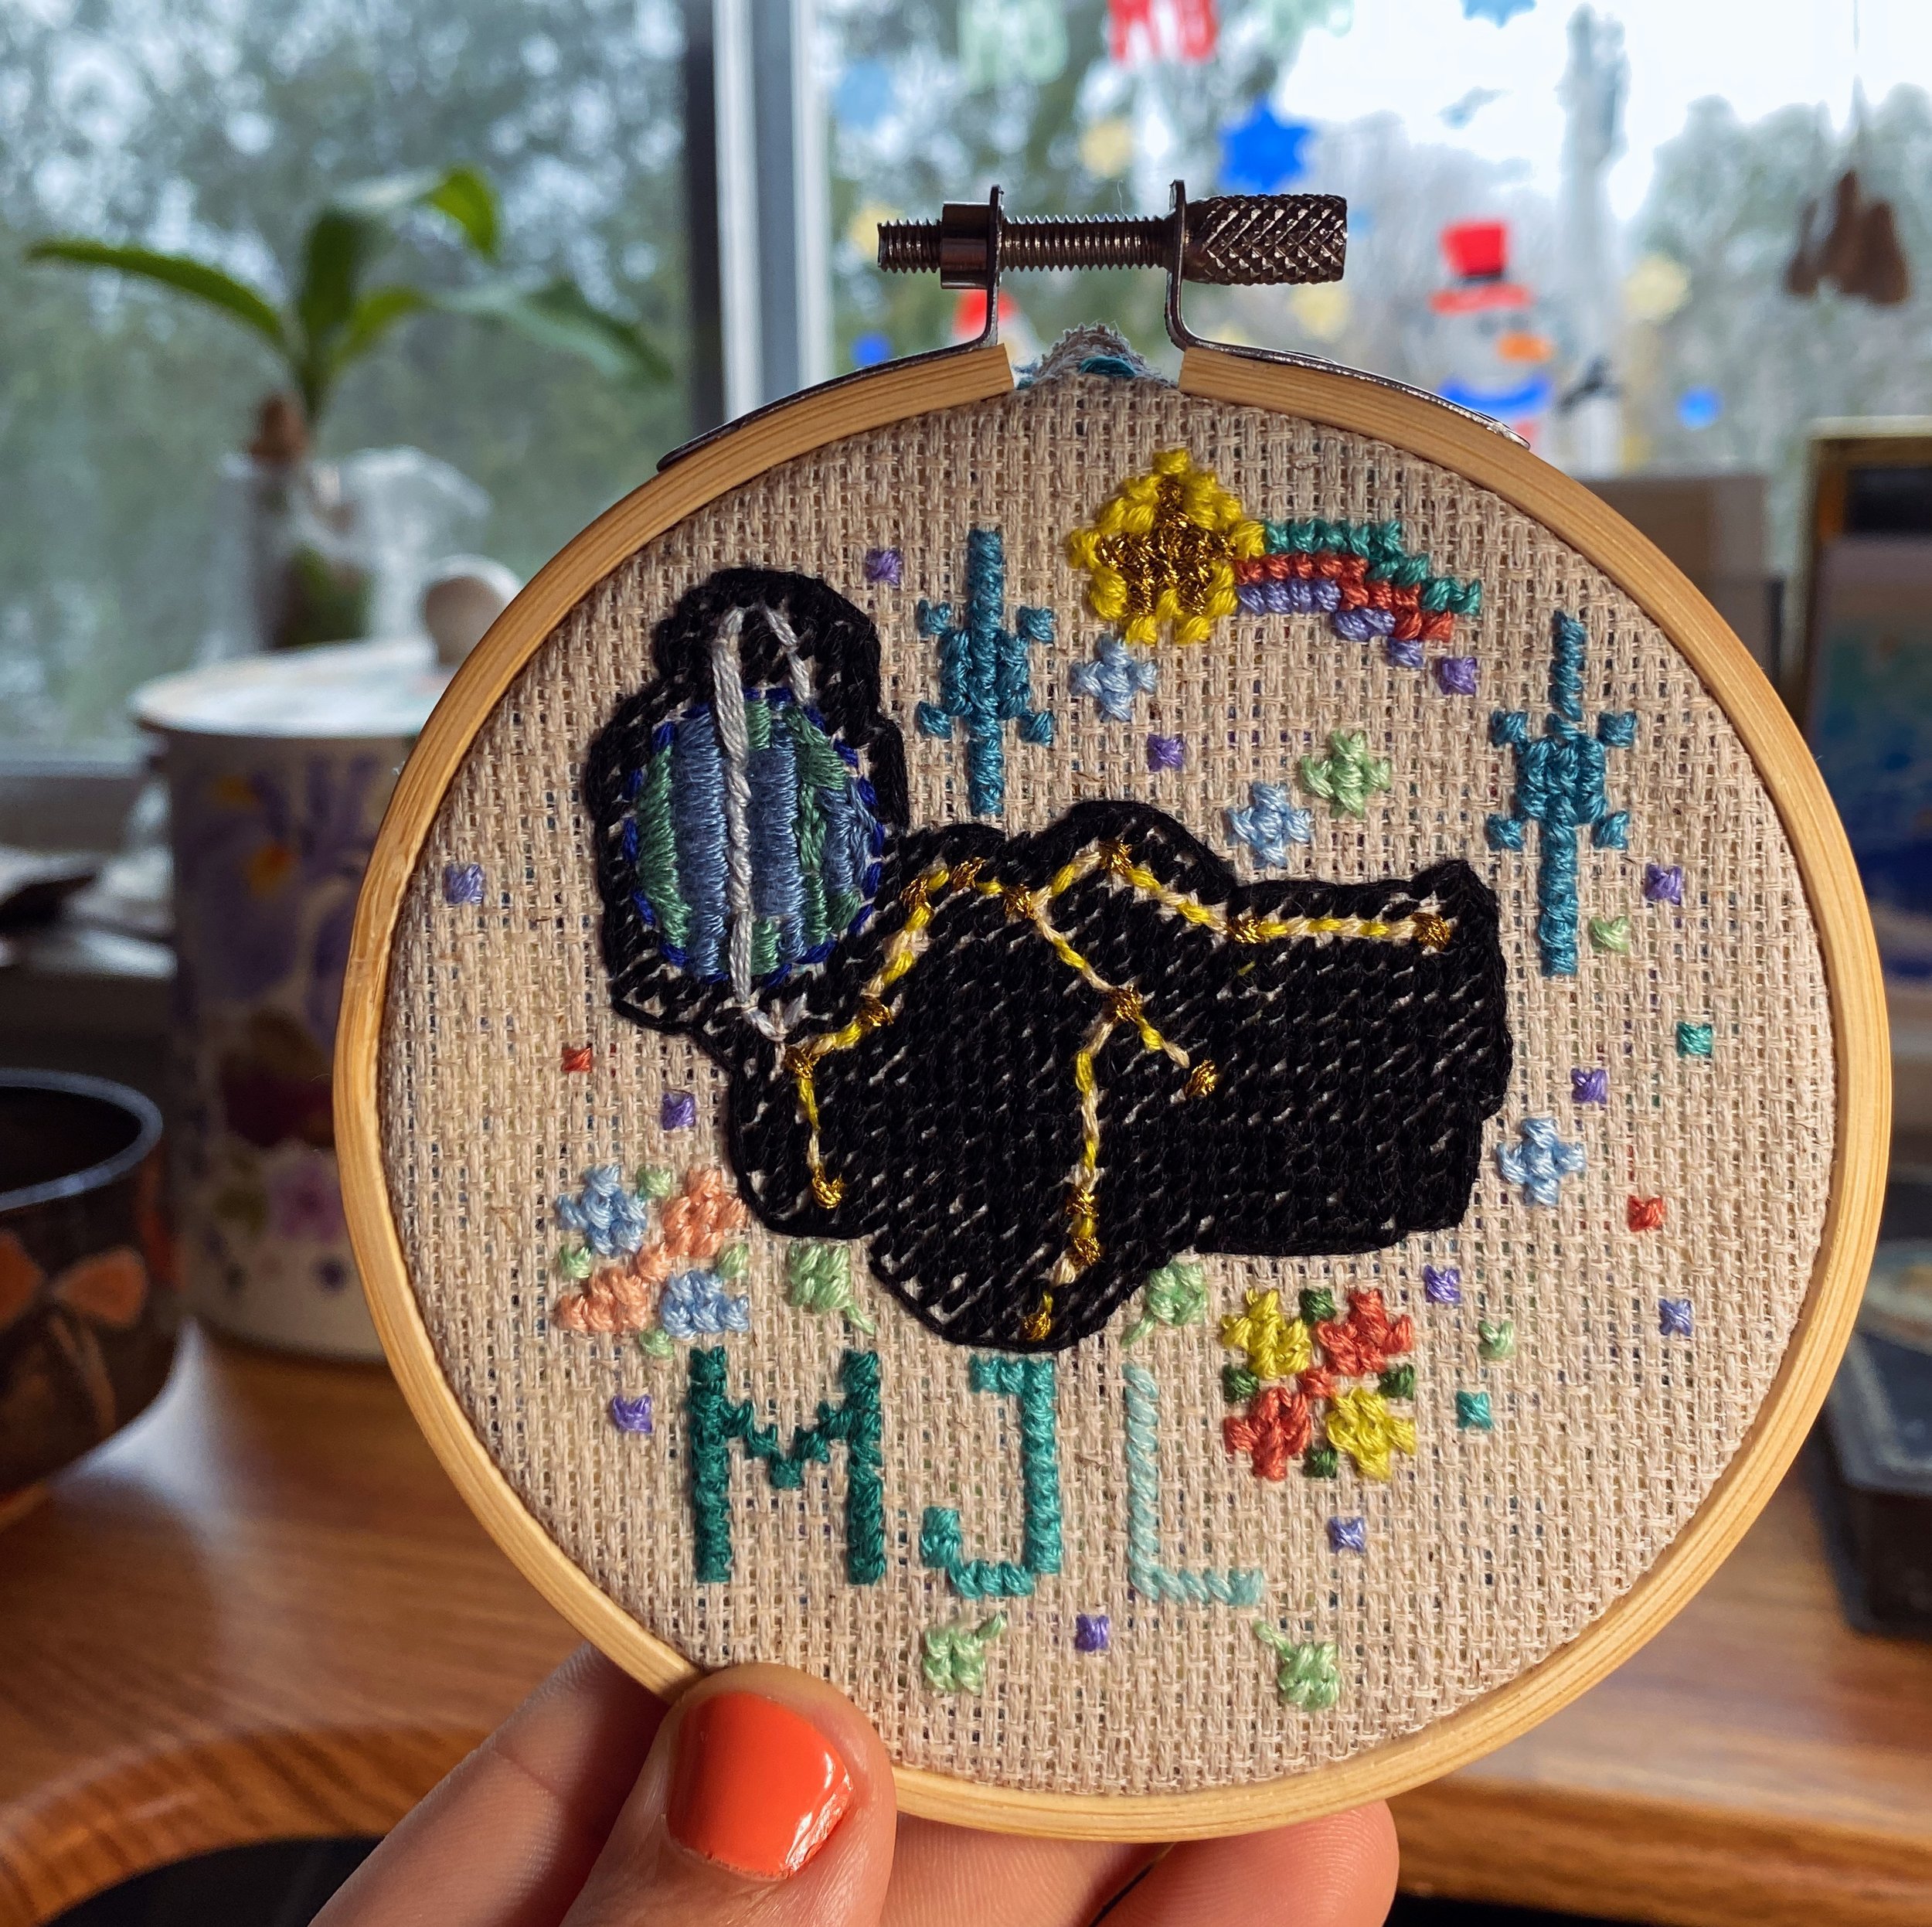
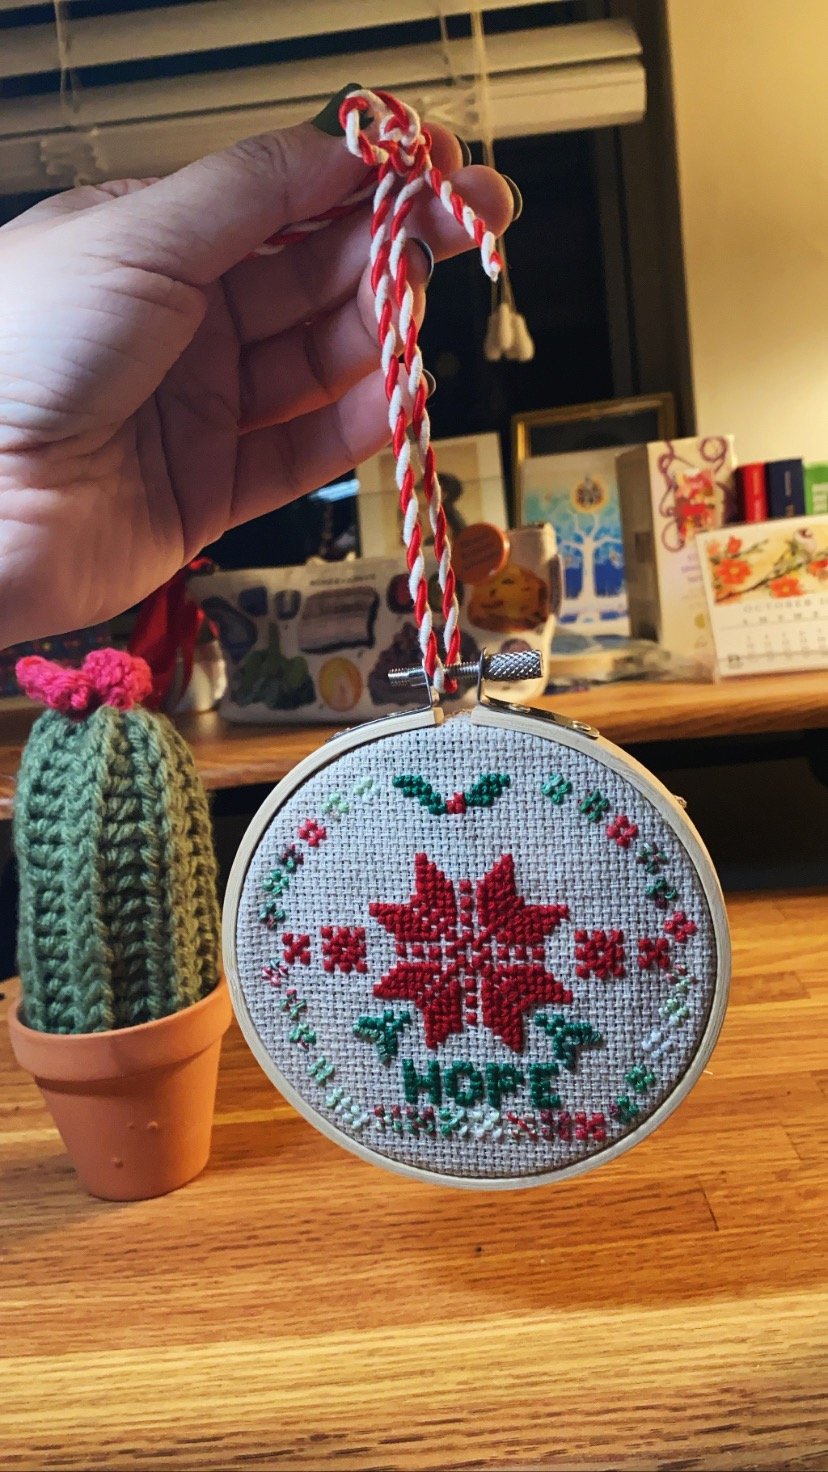
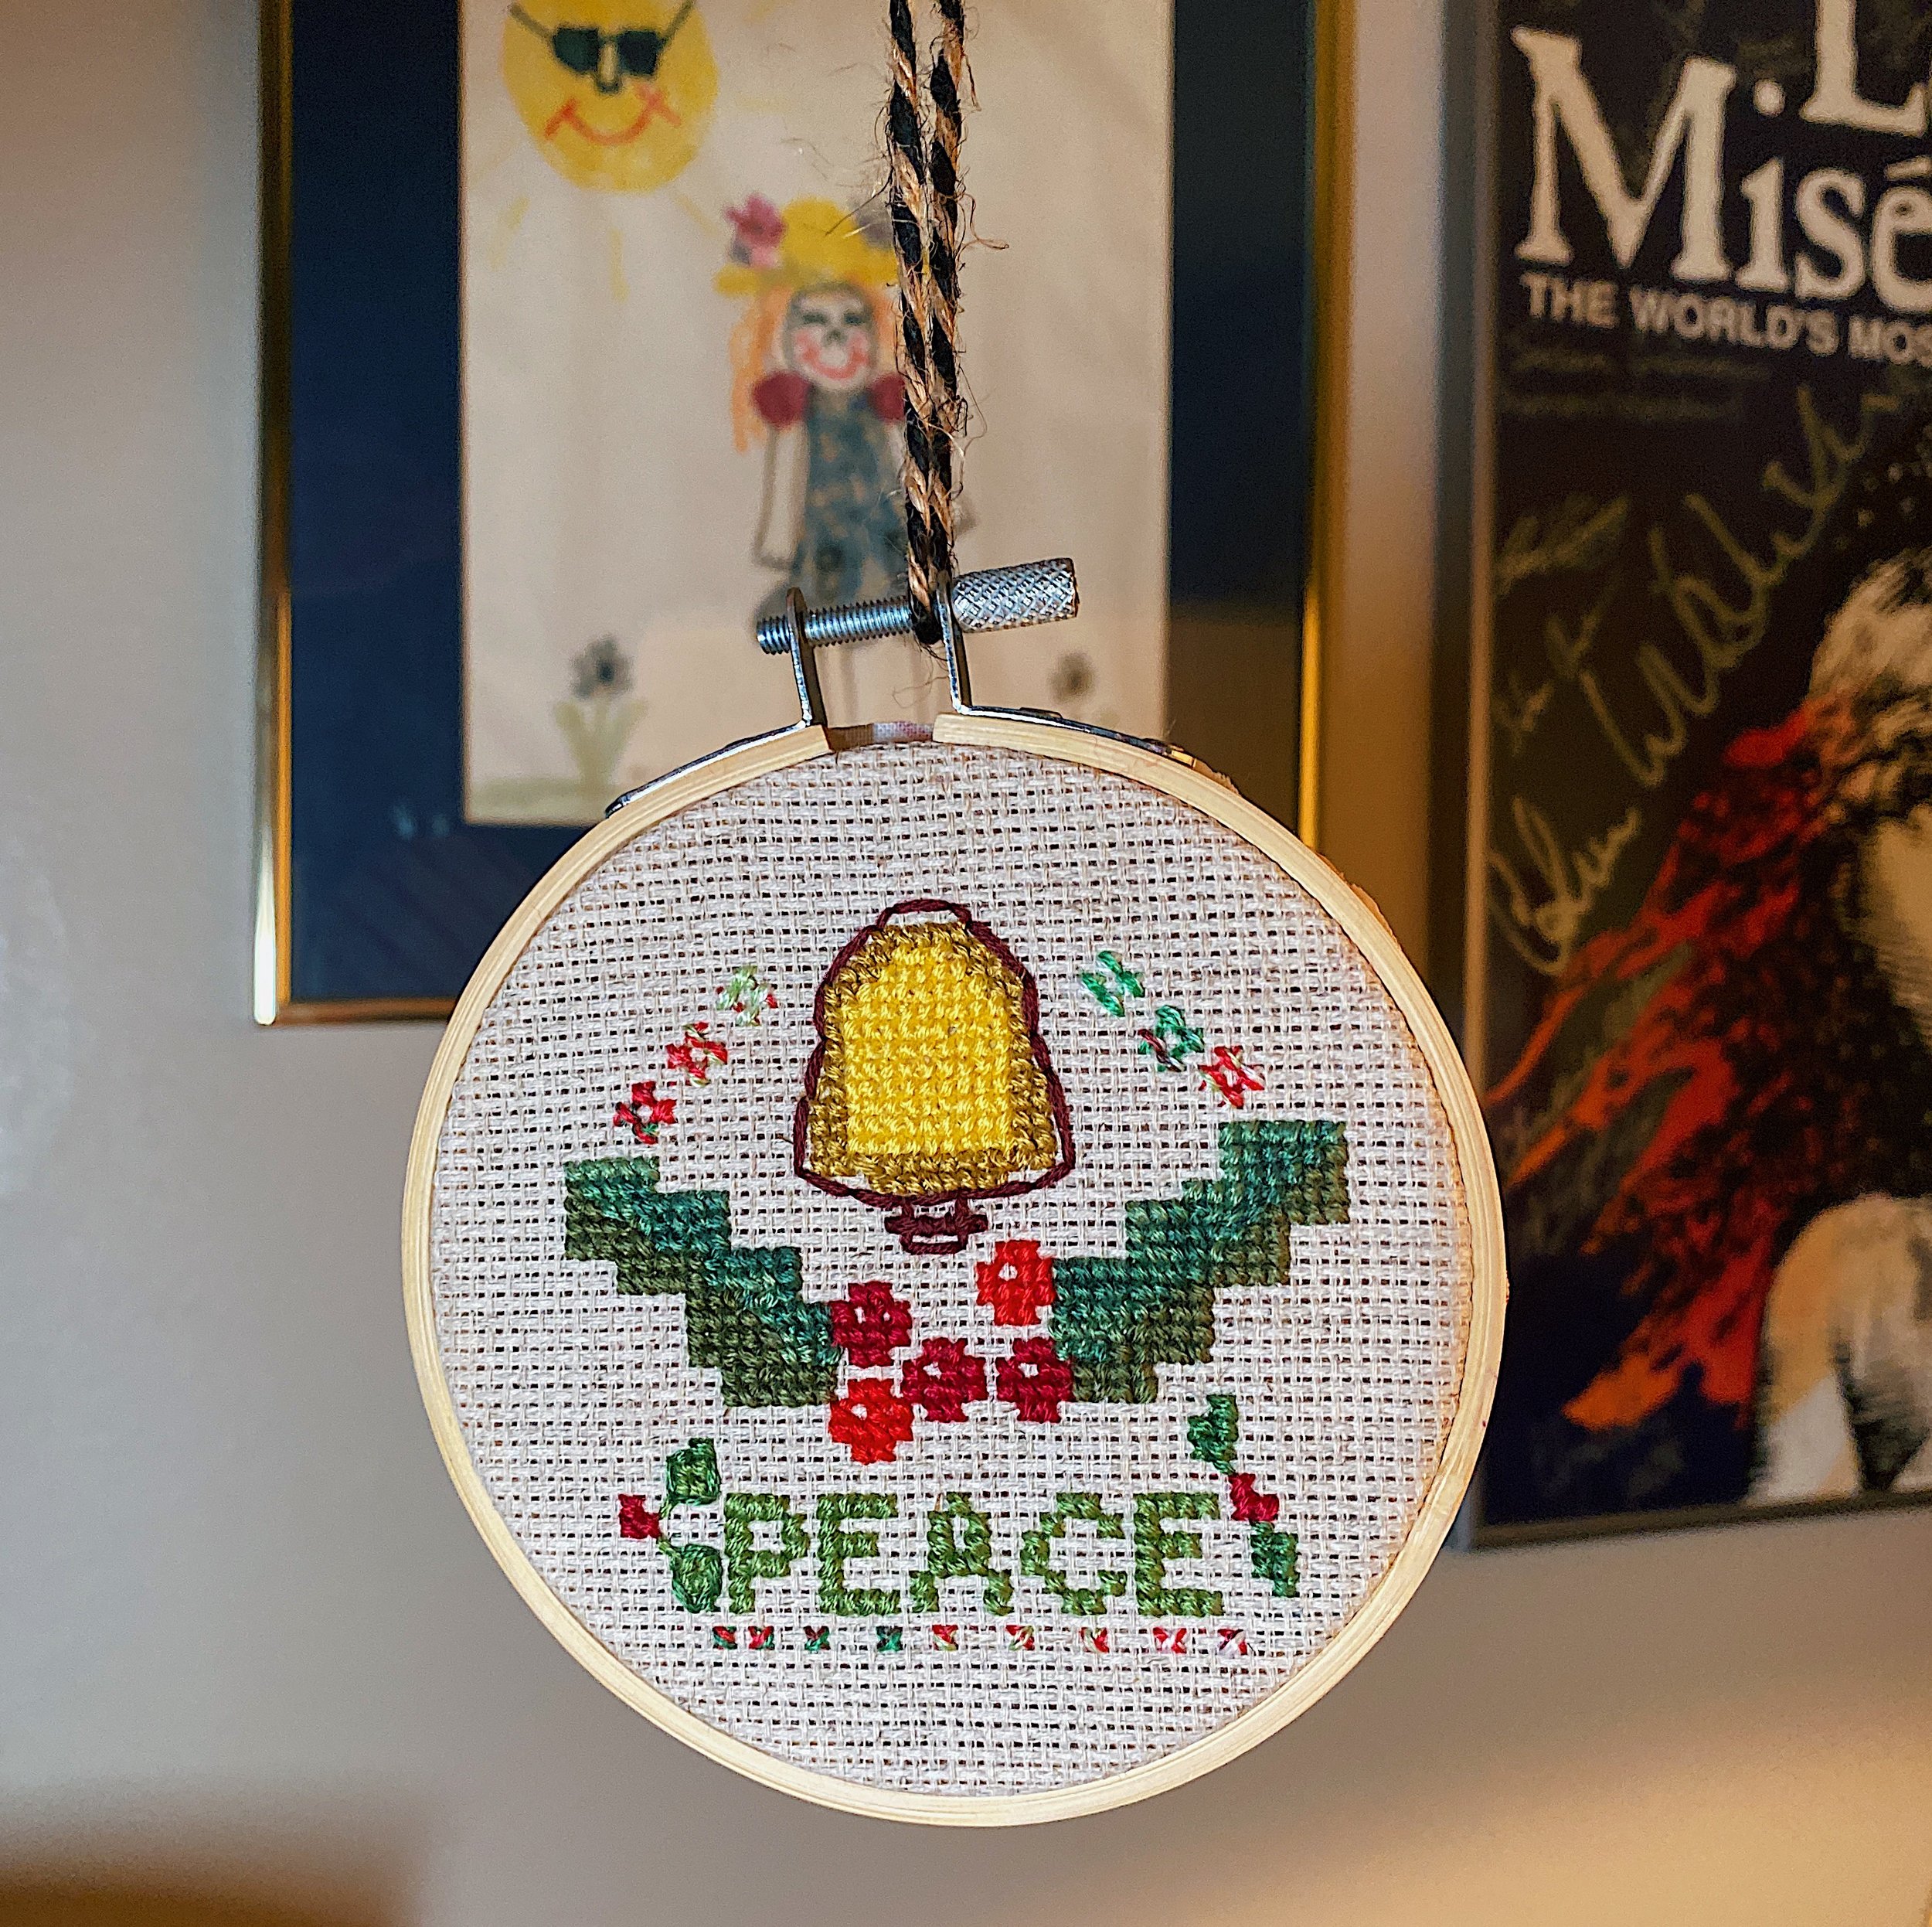
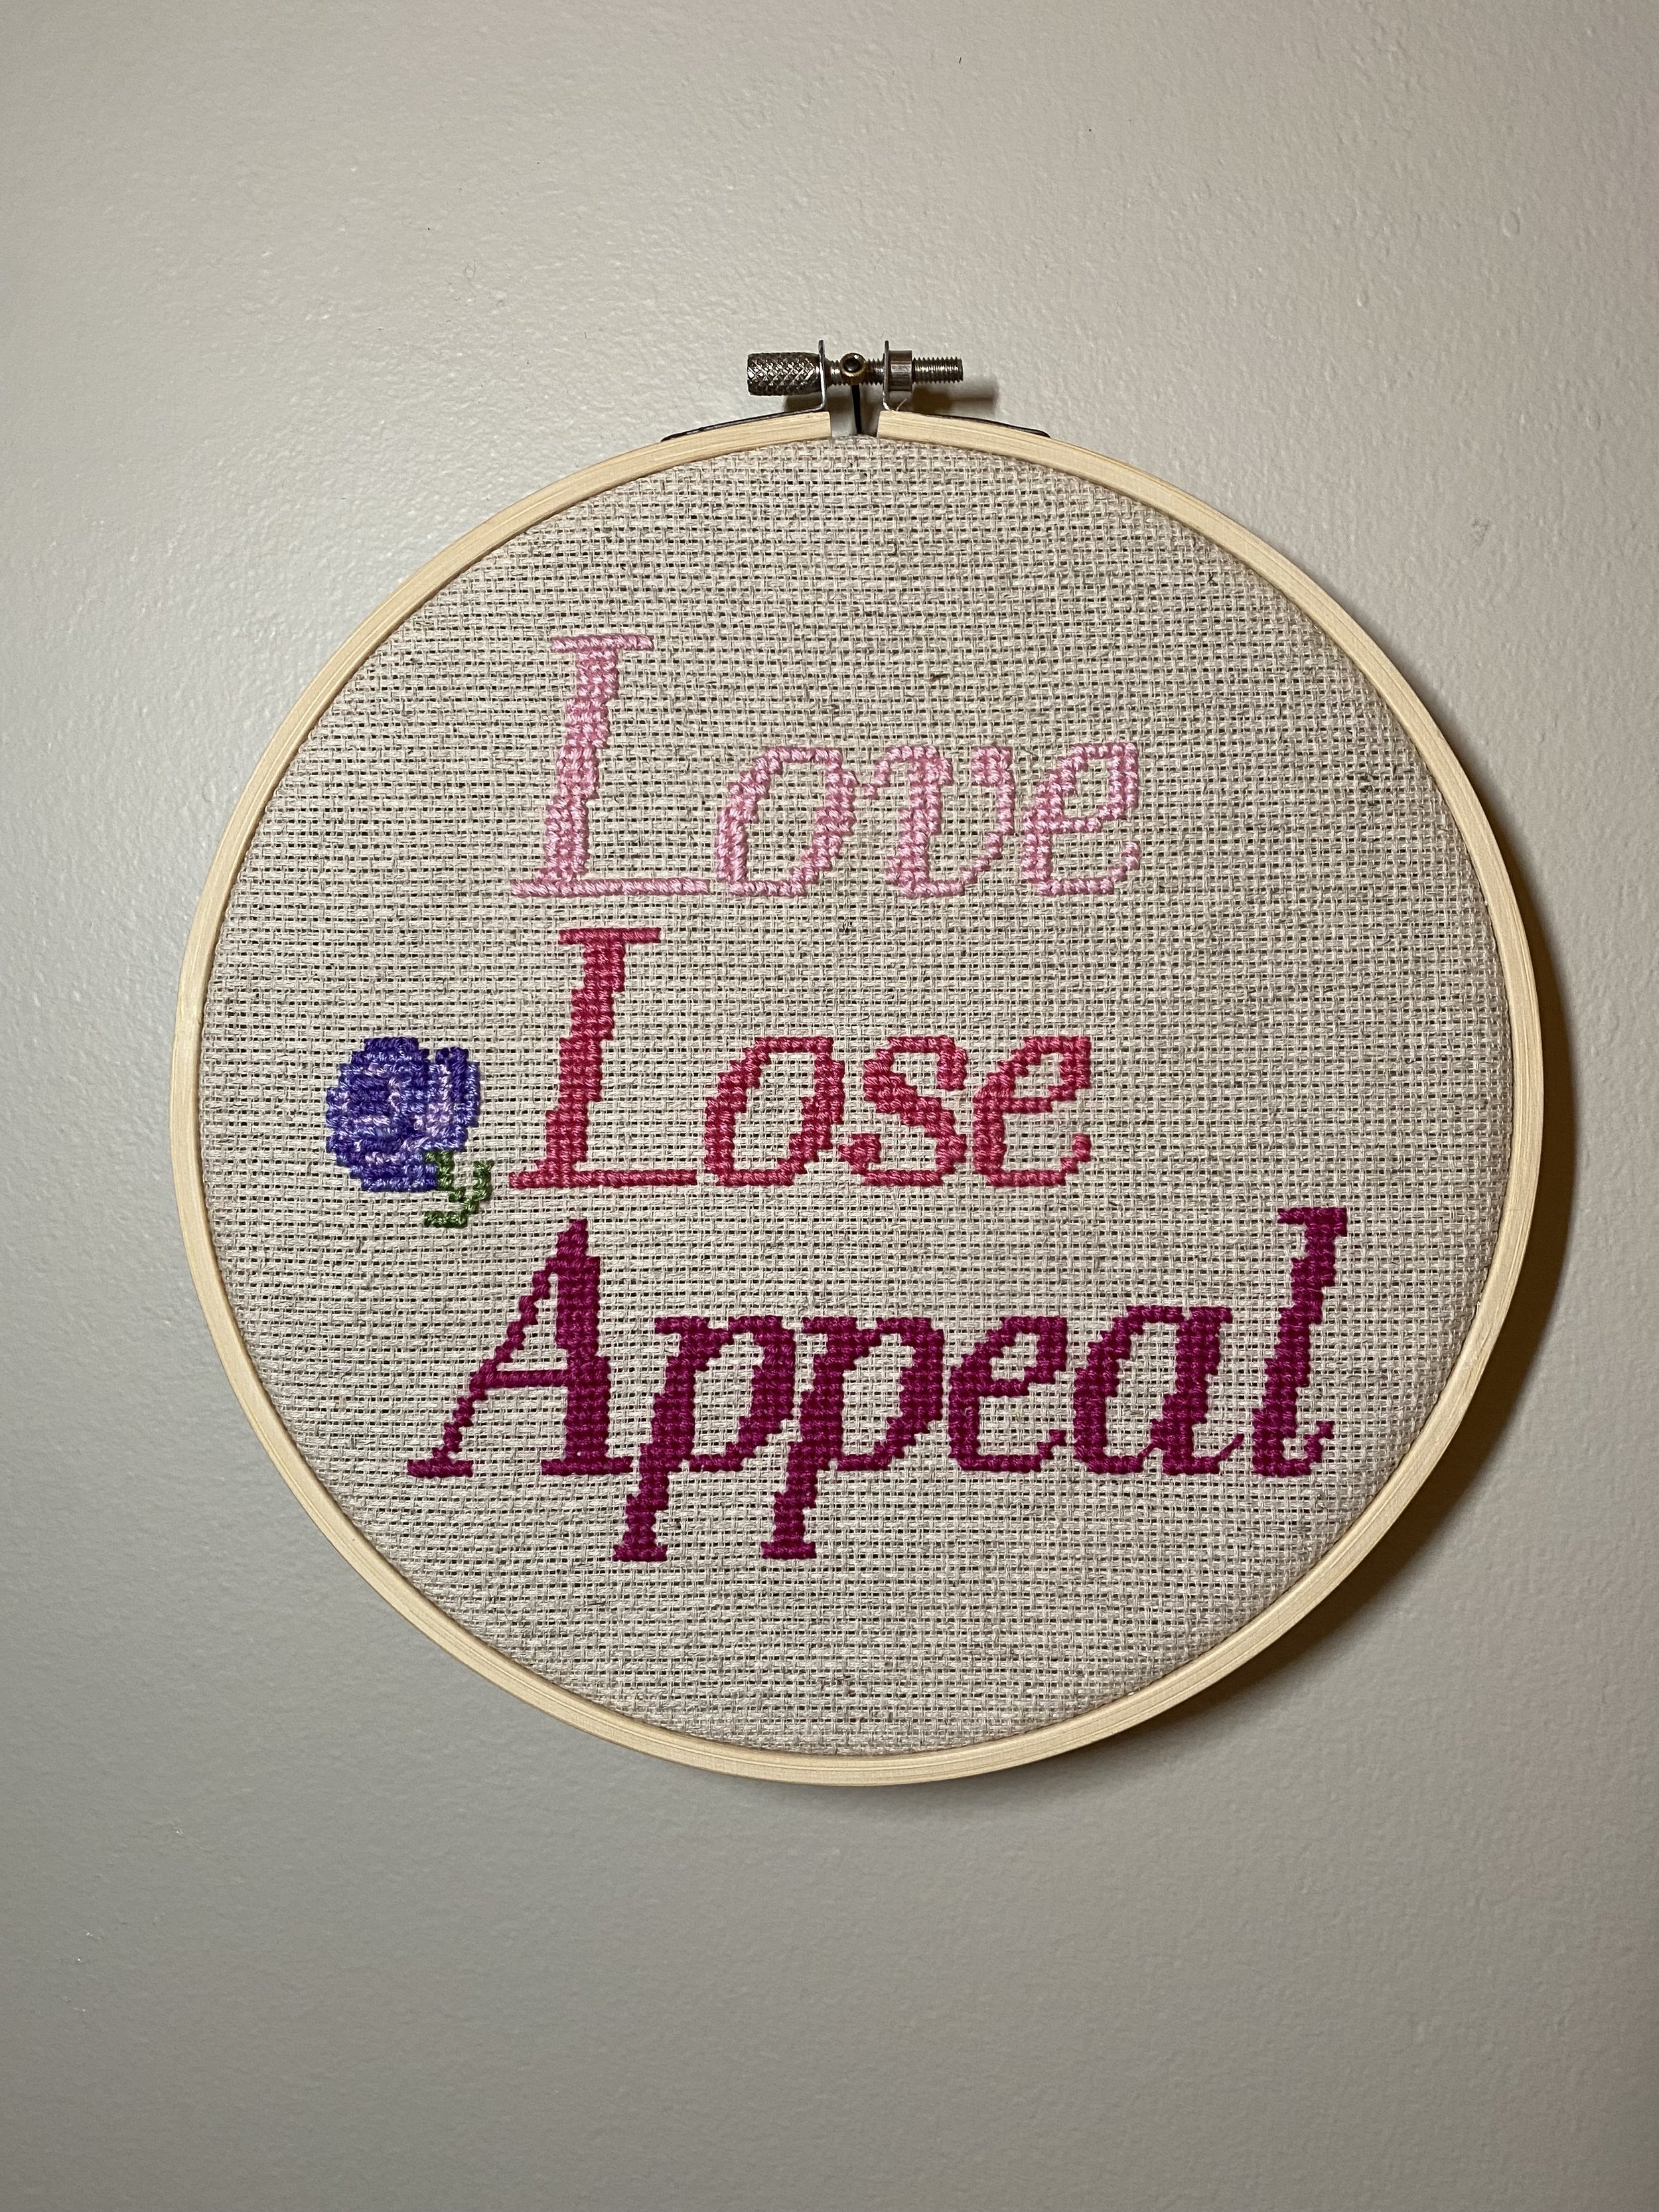
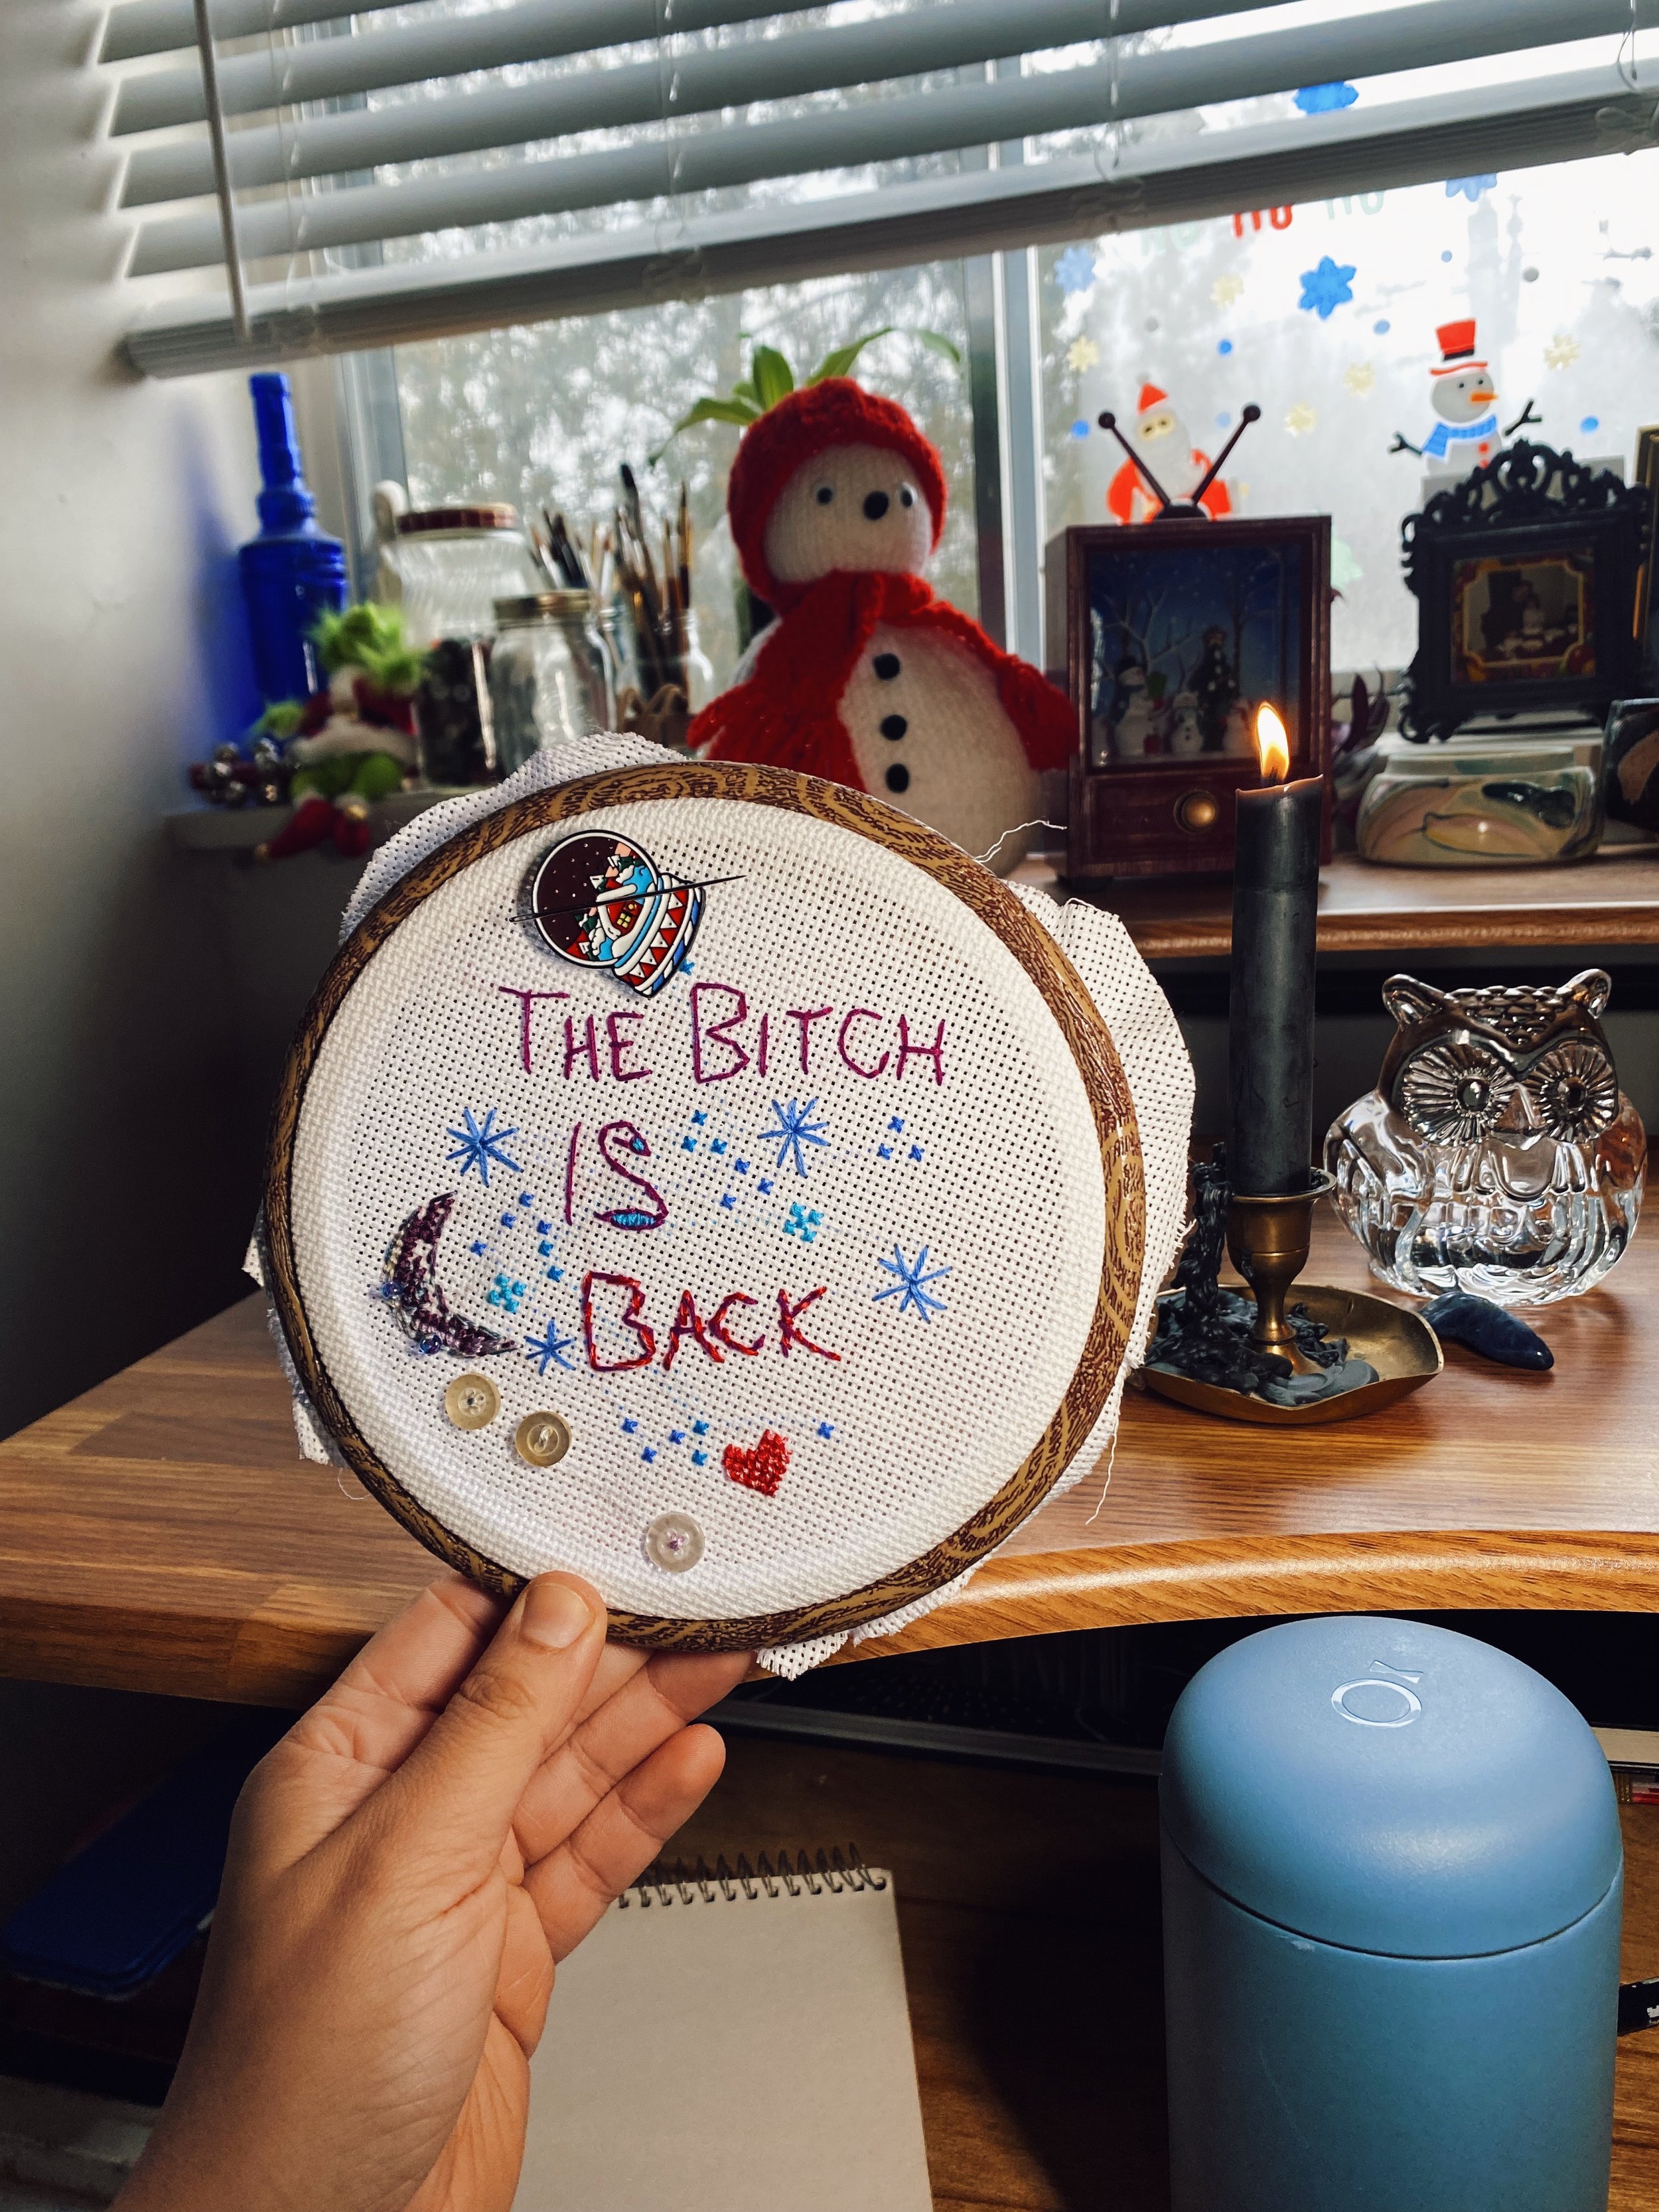
Cross Stitch Gallery

I’ve long admired the work of embroidery and textile artists. When I was a born, my Mom’s friend embroidered me a scene from the fairy tale the Princess and the Frog. The framed scene was in my bedroom until maybe high school. I’d admire the neat, colourful stitches wondering how she had made it. Whenever I’d see embroidery or textile art, I was filled with the same sense of wonder and would think that’s “not something I could ever do.”

One day, early in the pandemic of March 2020, I was alone and anxious in my apartment and decided to sew some patches on my jean jacket for the first time. I wasn’t really sure how to do this but had learned a basic stitch from my Mom and grandmother as a child. I took the small mending kit I had in my apartment and slowly starting sewing the first patch on.

The sewing took a lot of time. The machine embroidered patches and jean jacket material were both thick and it sometimes hurt my arthritic fingers to push the needle through. I took lots of breaks, and had the TV play sitcoms in the background for company. By the end of the spring, my jacket was complete, covered in the patches I’d been collecting and “saving” for years.

Every time I wore my jacket that first summer, I felt such a sense of satisfaction knowing I had sewn each patch by hand. It felt like I was wearing the magical coat of many colours from Joseph and the Amazing Technicolor Dreamcoat.

When it was time to hang my jean jacket up for the season, I took note of a beautiful cross stitch I’d bought from Guelph artist Hoops by Han. It reminded me that each pixel of colour in a cross stitch is compromised of just two stitches. I realized that although I could not recreate what was in front of me I could theoretically cross stitch if it is two stitches, over and over. This inspired me to start looking up what I would need to get started and watched some tutorials.

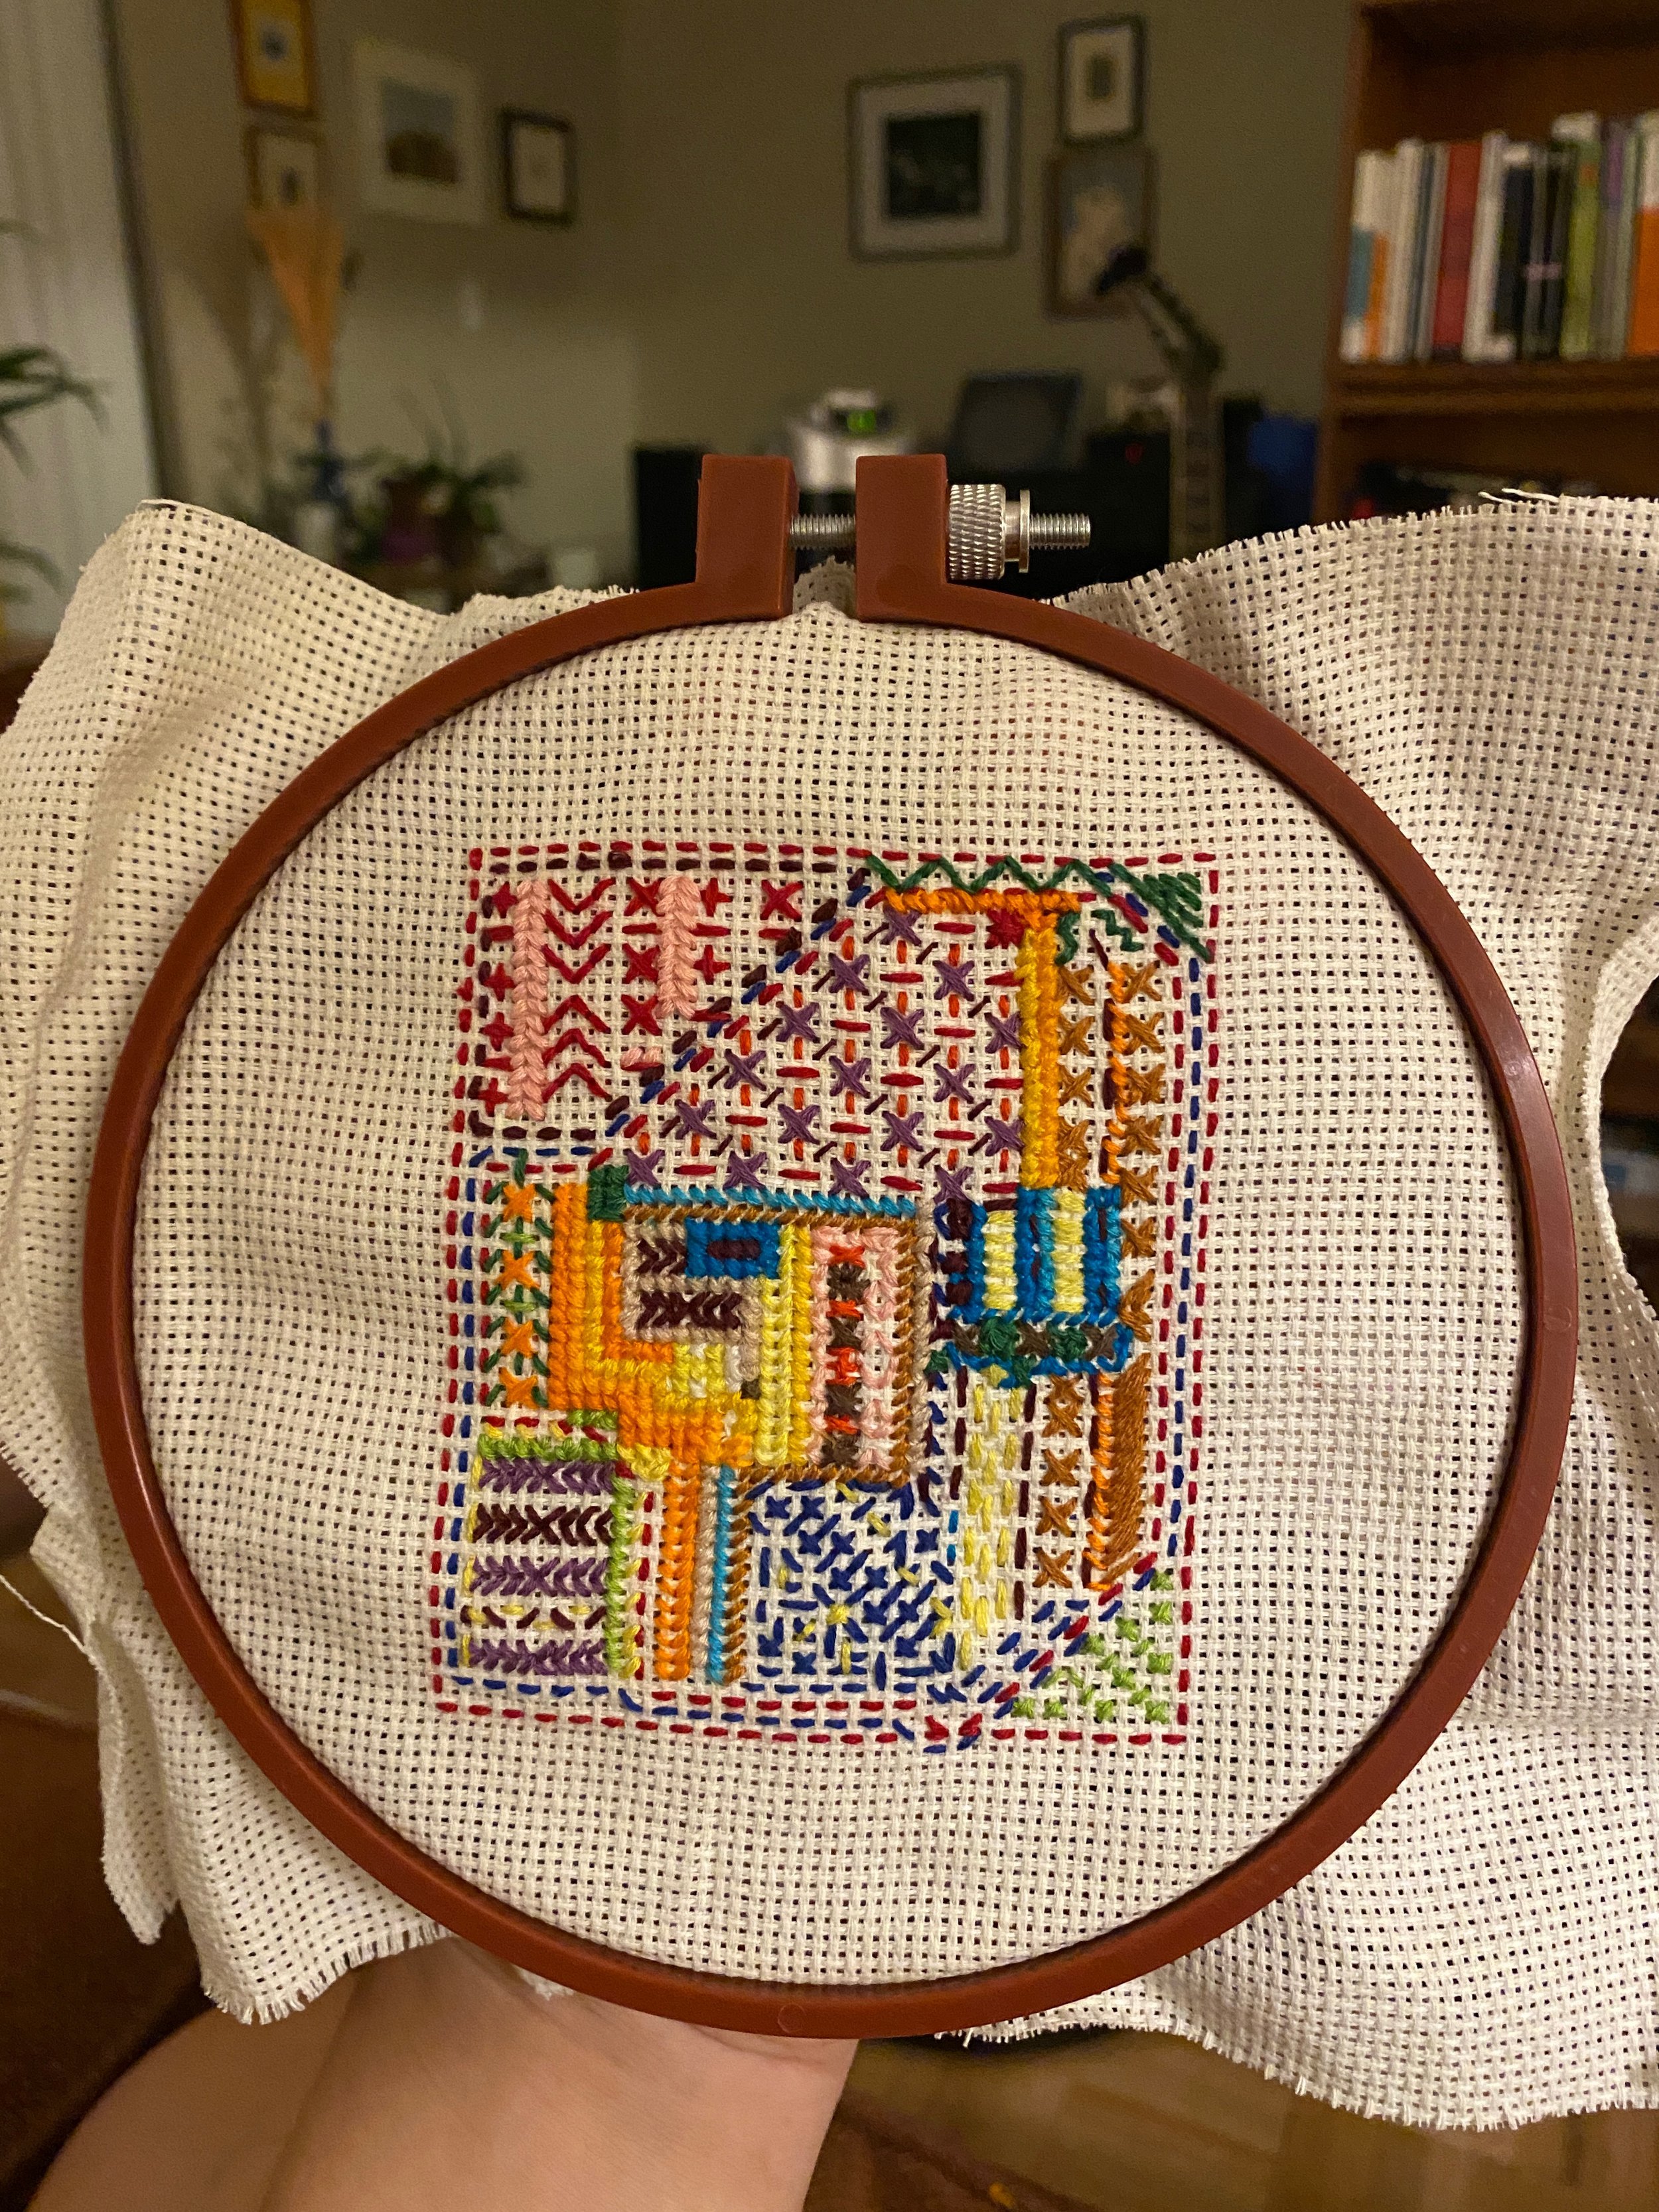
The first hoop I ever finished was completely improvised. I wanted to practice stitching and get a sense of what I liked. My first hoop is the abstract one below. Once I had completed that one, I felt the same satisfaction and confidence I felt when I finished my jean jacket. I felt inspired to keep stitching and am still stitching today.

In my first year, I made 10 hoops - mostly small ones, but one that sadly did not survive as I ended up cutting it up in frustration lol. 8 are pictured here, the 9th was another 4 inch Christmas ornament.

The best part of this journey, has been that I was recently asked by two girlfriends to stitch scenes for their new babies and nurseries. To think that all those years ago, I looked up at the embroidered Princess and the Frog and thought I would never learn to use a needle. Now I’m stitching for my friends’ babies just like my Mom’s friend embroidered for me when I was a baby. I still can’t embroider but I sure do love stitching and I will never say “never” when it comes to trying new mediums now.

If you want to buy hand stitched hoops, visit Hoops by Han on Instagram or Etsy. 
For free cross stitch patterns, I started with the D.M.C. website. When I was ready to buy patterns, I opted for ones by Montreal artist Samantha Purdy.